Hi @linkcx
Thank you for using our plugin! 
Unfortunately, we don’t have the documentation on Avatar Creator Plugin. As this is an easy plugin, we only provide the Demo Page. Please specify what issue you are going through so we can better understand how to support you!
It is possible to copy from the demo page to your own bubble app, but we don’t recommend that. Let us show you a small introduction on how to recreate it on your page:
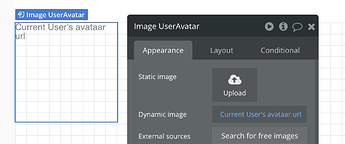
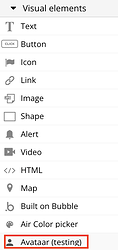
Insert the Avatar Element on your page:
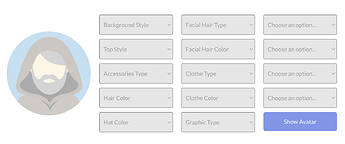
Insert the dropdowns and Show Avatar Button(this button will show the changes you made on the Avatar - not save it):
You can add as many as 28 different dropdowns, each changing the specified element of the Avatar.
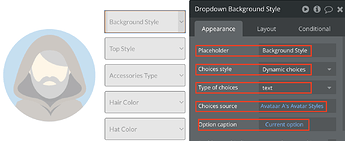
Setup of Dropdowns:
Choices Style = Dynamic Choices, in order to have different choices according to what we want to change.
Type of choices = should be regular
text in this instance.
Choices source = the avatar’s choice for the dropdown. In the instance above, the first one was Avatar Style.
Option Caption = Current option
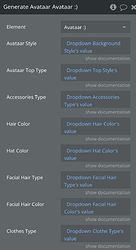
Show Button Workflow :
Each element = corresponding dorpdown’s Value
ex. Avataar Top Type = Dowpdown Top Type’s Value
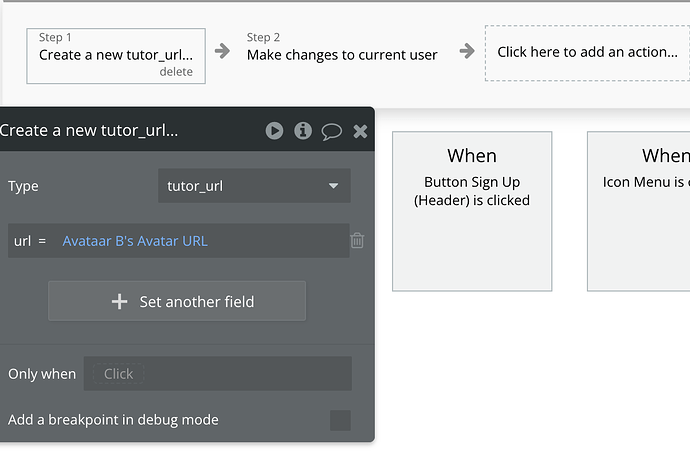
As shown in the Demo Page, you can save the avatar using its url.
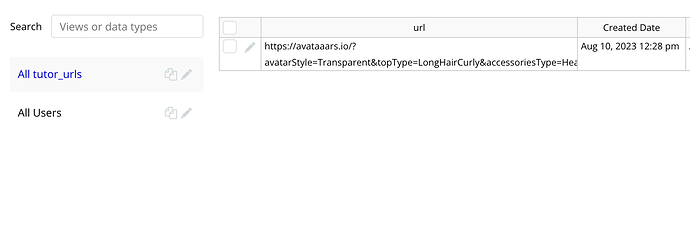
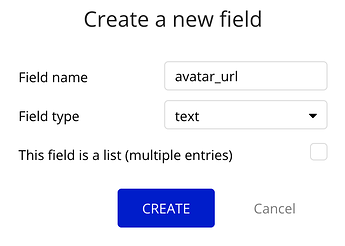
For this you will need a Save Button and to create another field in the database, where you store the users information. Lets say you store all the user info in the User data type. Create a new Field, naming it however you want, with field type text
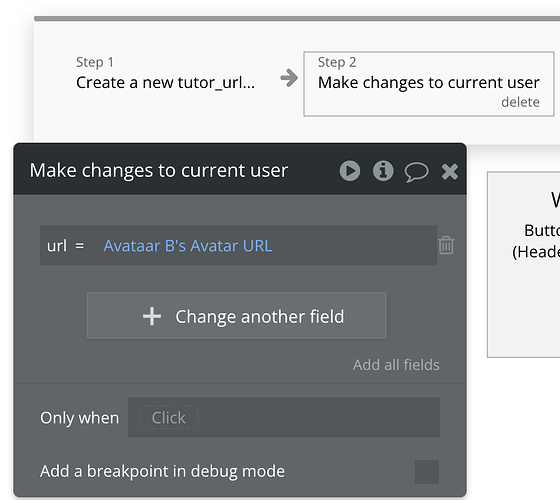
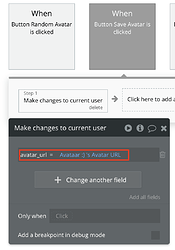
Workflow of the Save Button:
Choose
Make changes to current user as the action. Then
Add another field where you specify that you want the
Avatar’s URL to be saved into the data field you just created.
Hope we helped in what you are trying to achieve!!
Cheers 



 If any questions come up, we would be more than happy to answer them
