Services Plugins FAQs

How to go about Jobly having products/services as in cleaning service

Hi,

I am exploring the template at the moment and I understand so far that as a Company owner you create a “job” then issue the invoice for it. I wanted to ask a question before I get stuck.

In my company, we offer different services (think standard house cleaning, deep cleaning, carpet cleaning) and would like to offer those on our booking page for people to book.

So for example I would have>

Carpet cleaning service/product

where customers can select:

Bedroom carpet is priced at 50$
Hallway carpet is priced at 30$

And get that booked and pay for right there on the booking page.

How would I go about creating/adding that to Jobly?

Many thanks!

Hi @myhomelovelyuk,

Thanks for reaching out. You request is relatively simple to be added, we just encourage to have intermediate experience with Bubble.io in order to easily tweak our templates, or at least basic understanding to work with embedded functionality. After you purchase the template, you are able to modify each and every aspect of it: design, workflows, data etc. so you’ll just need to integrate the booking functionality wherever you prefer. And in your database you can add the fixed options like these:

With a fixed price, so your platform users will book any of these.

Hope it helps.

Best,
Alex

Hi Alex,

I purchased the template already and looking at the db and data types. Under what data type would I add these fixed options? Or would I create new ones?

Thanks,

Hi @myhomelovelyuk,

You can create the new ones if you will, it really depends on how you want to structure your app. I’m afraid I cannot provide exact solutions on this matter because template customisation is beyond our support services. It is something unique per each customer request.

In case you need some help with Bubble itself, you can find solutions here or check our Lab courses to sharpen your Bubble skills if you will.

Best,
Alex

Hi Alex,

Thanks for prompt reply. I agree, I will need to figure out my structure first and then ask a questions.

I just finished going through all documentation, it nicely explains the structure and how the template works. However, I’m just a bit stuck really on using the template as it is (without changing anything).

It’s not clear to me (not explained in the doc) how to get yourself up and ruining (for basic use case like for example cleaning company) in a step by step guide or instructions. For example it seems to me that if I wanted to use the template as it is - I would be required to go to homepage > sign up as a Organisation in order to create an account and then take it from there with options as they are.

Is there somewhere where you provide some instructions (I watched the video tutorial as well, it only explains what is what and doesn’t show an actual set up of an account). Or could you give me an idea of how would you get up and running with the template as it is if you had an organization.

Very much appreciated.

Sami

Hi @myhomelovelyuk,

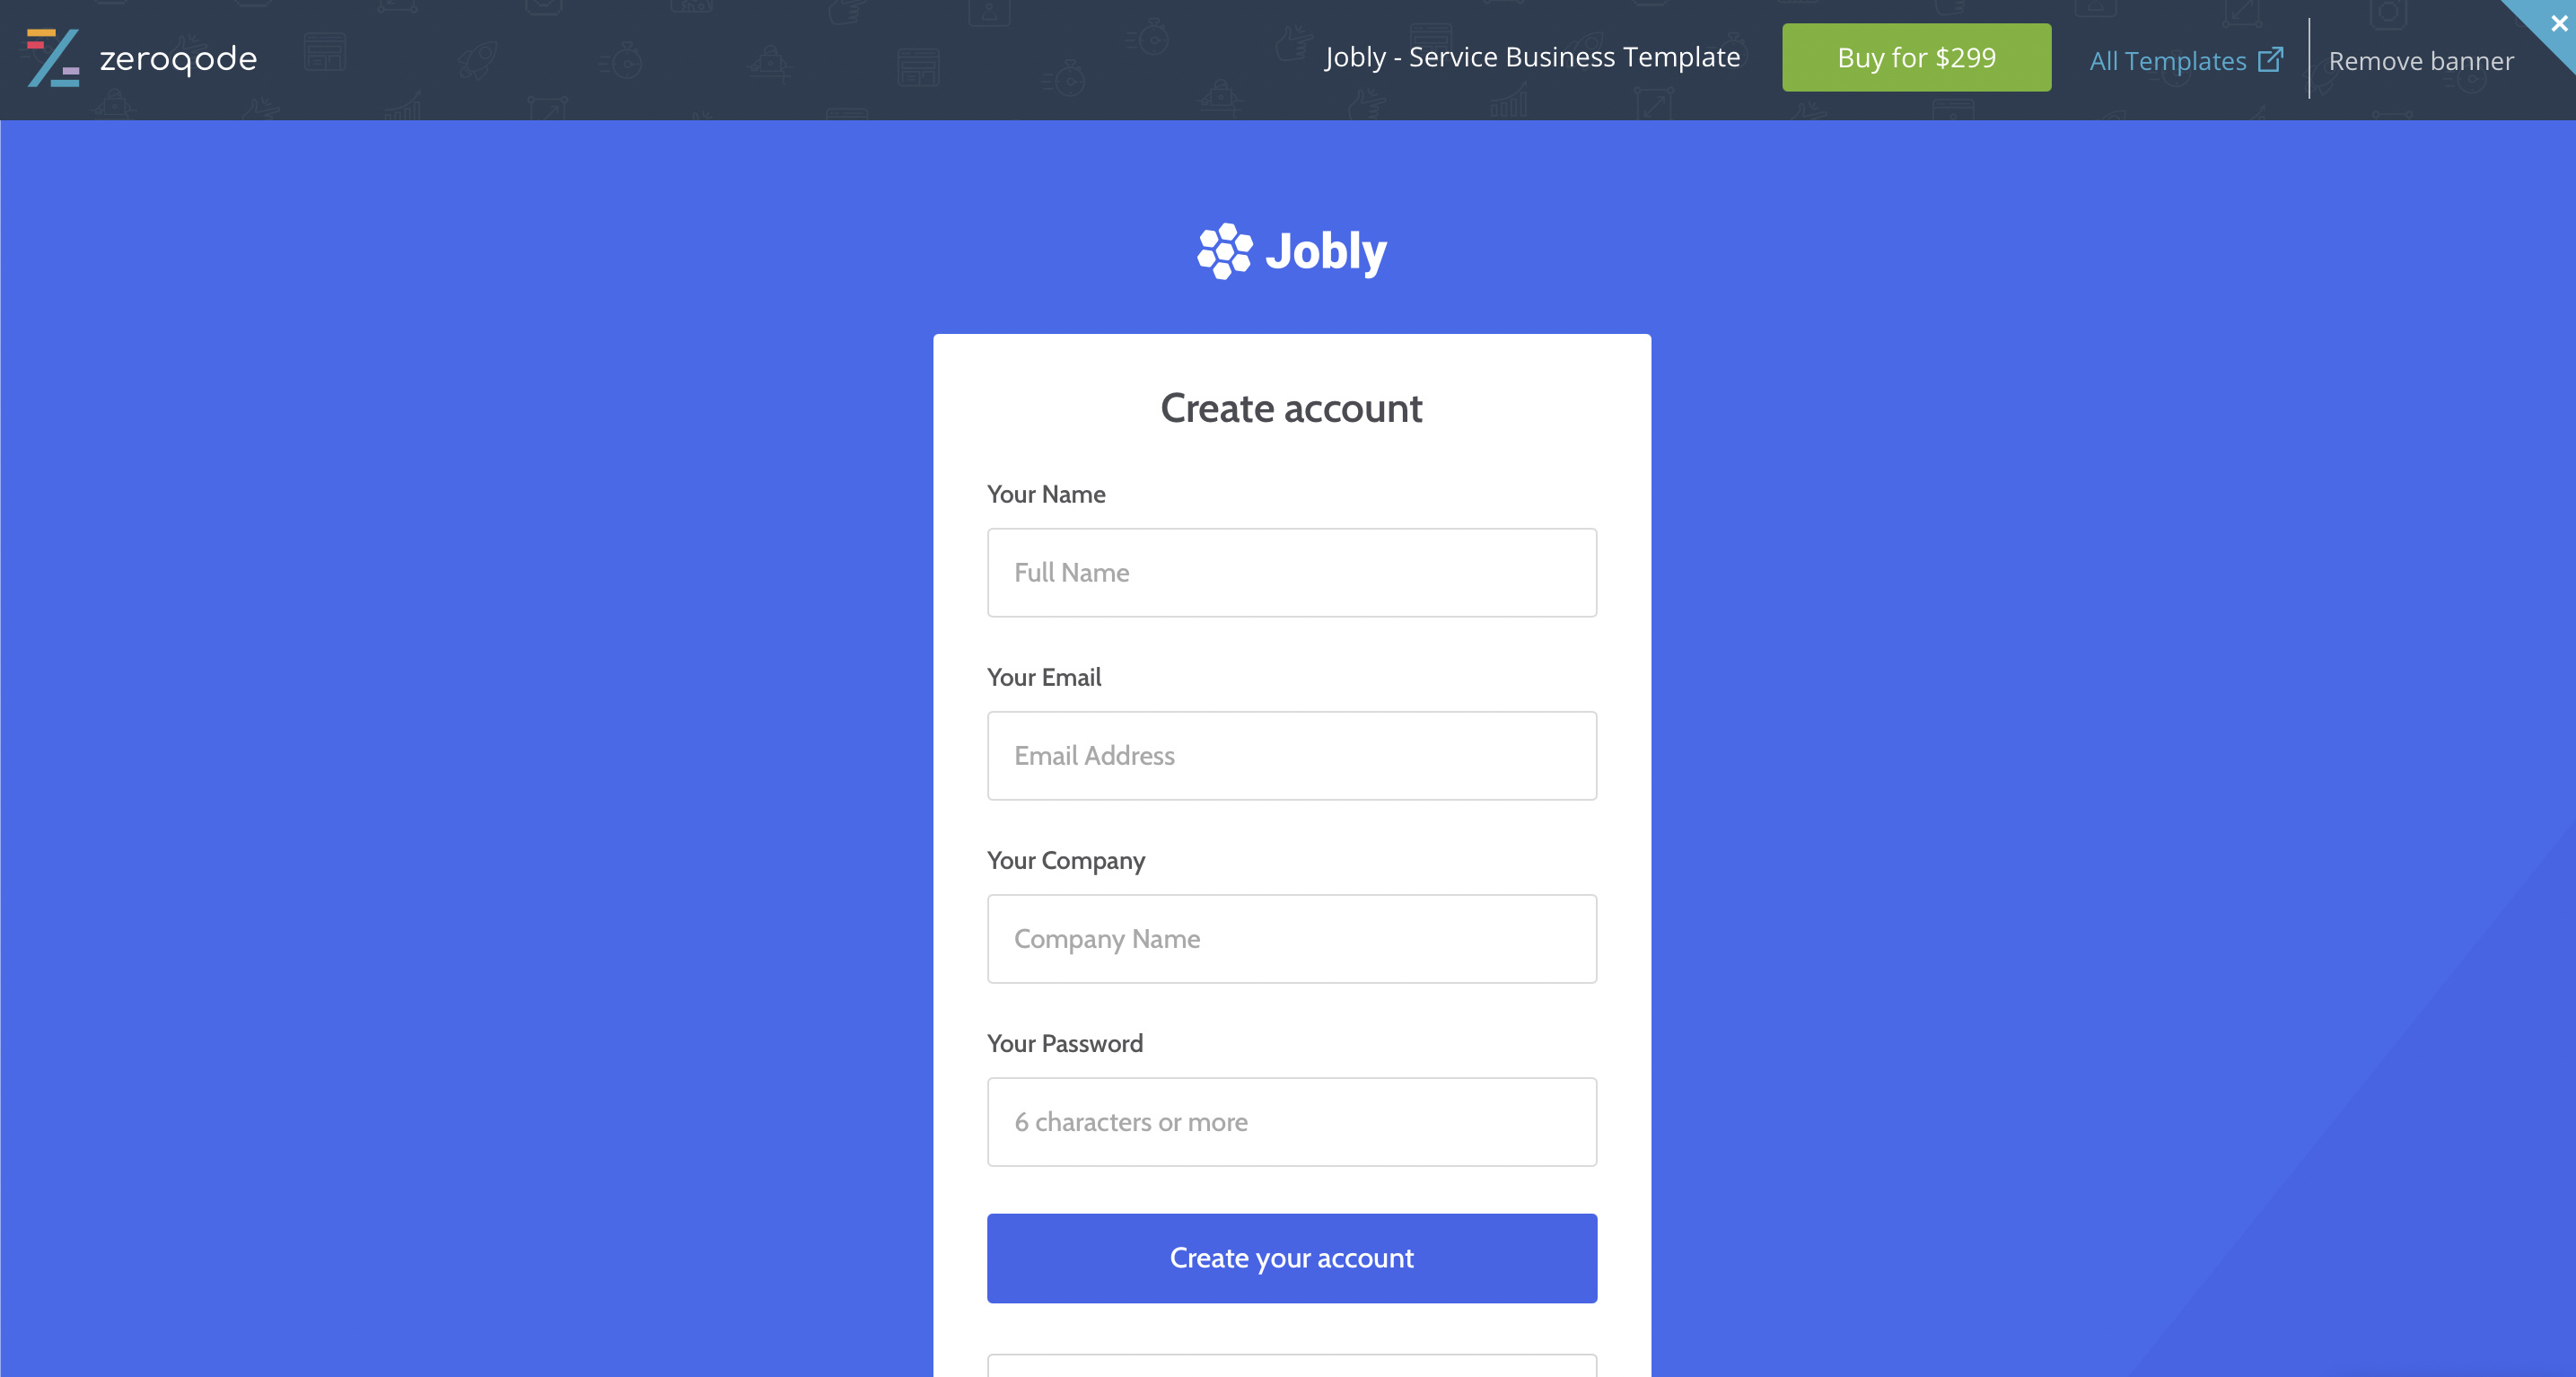
Thanks for feedback. Sure, the first thing is to create an account:

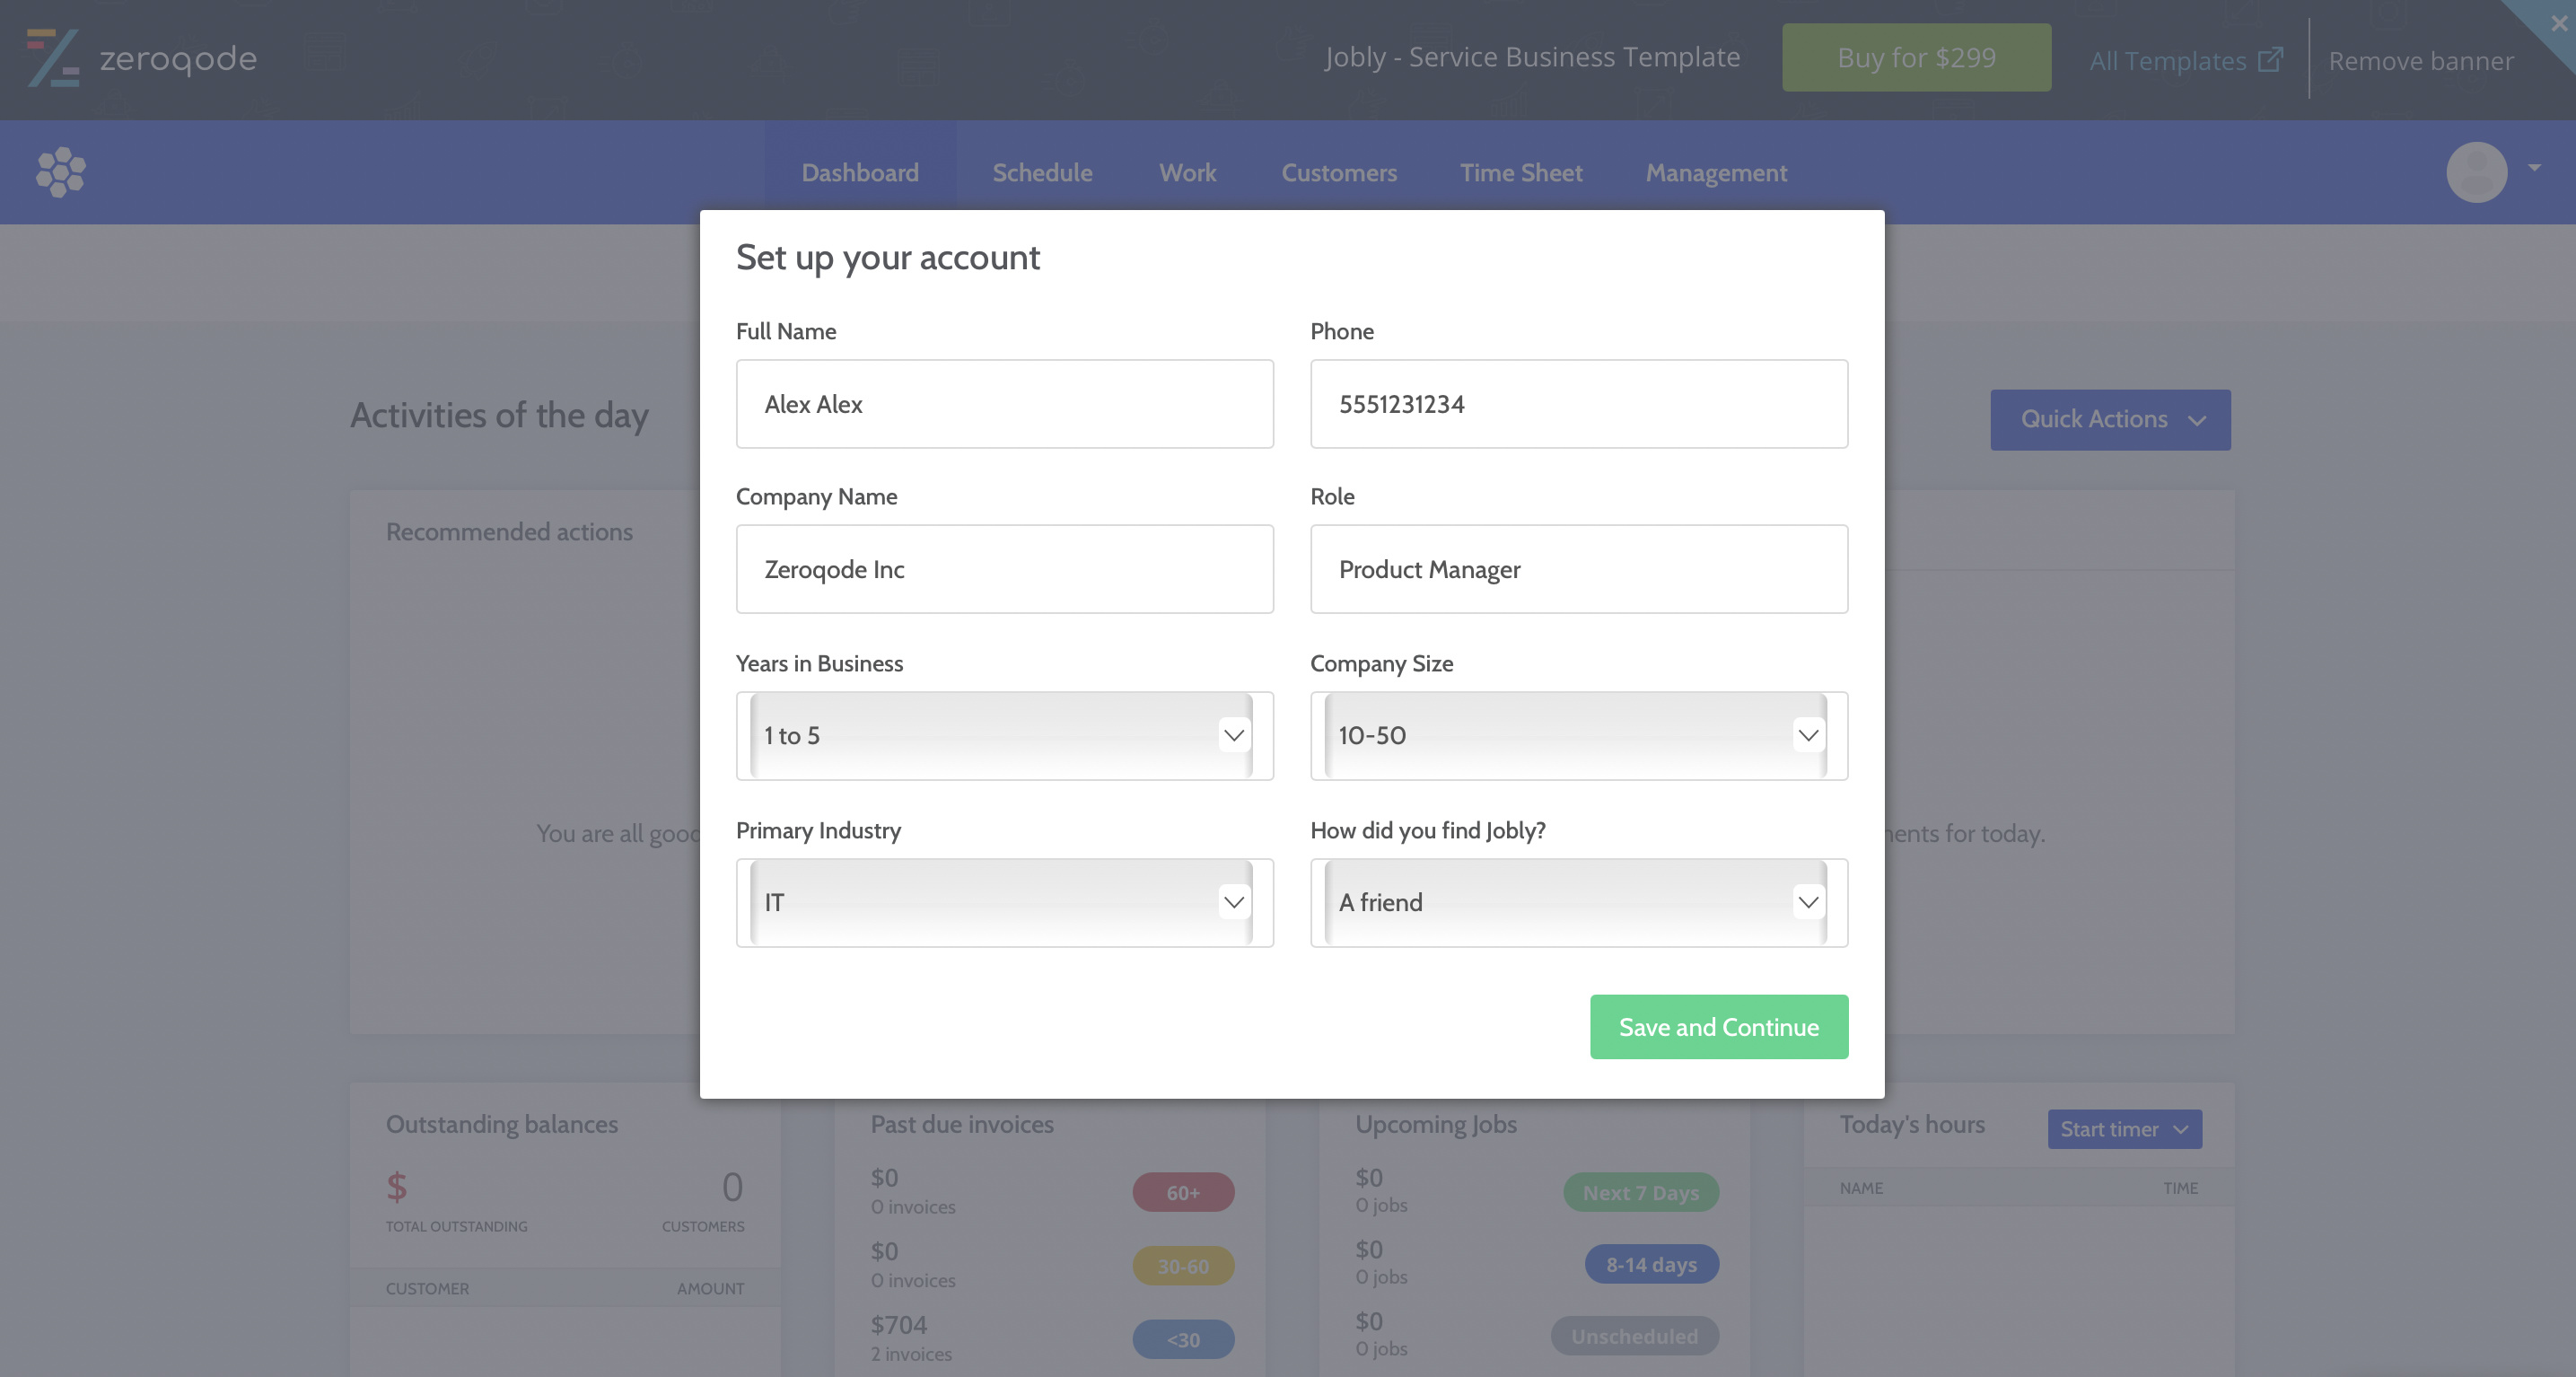
Then you set up the information about your company:

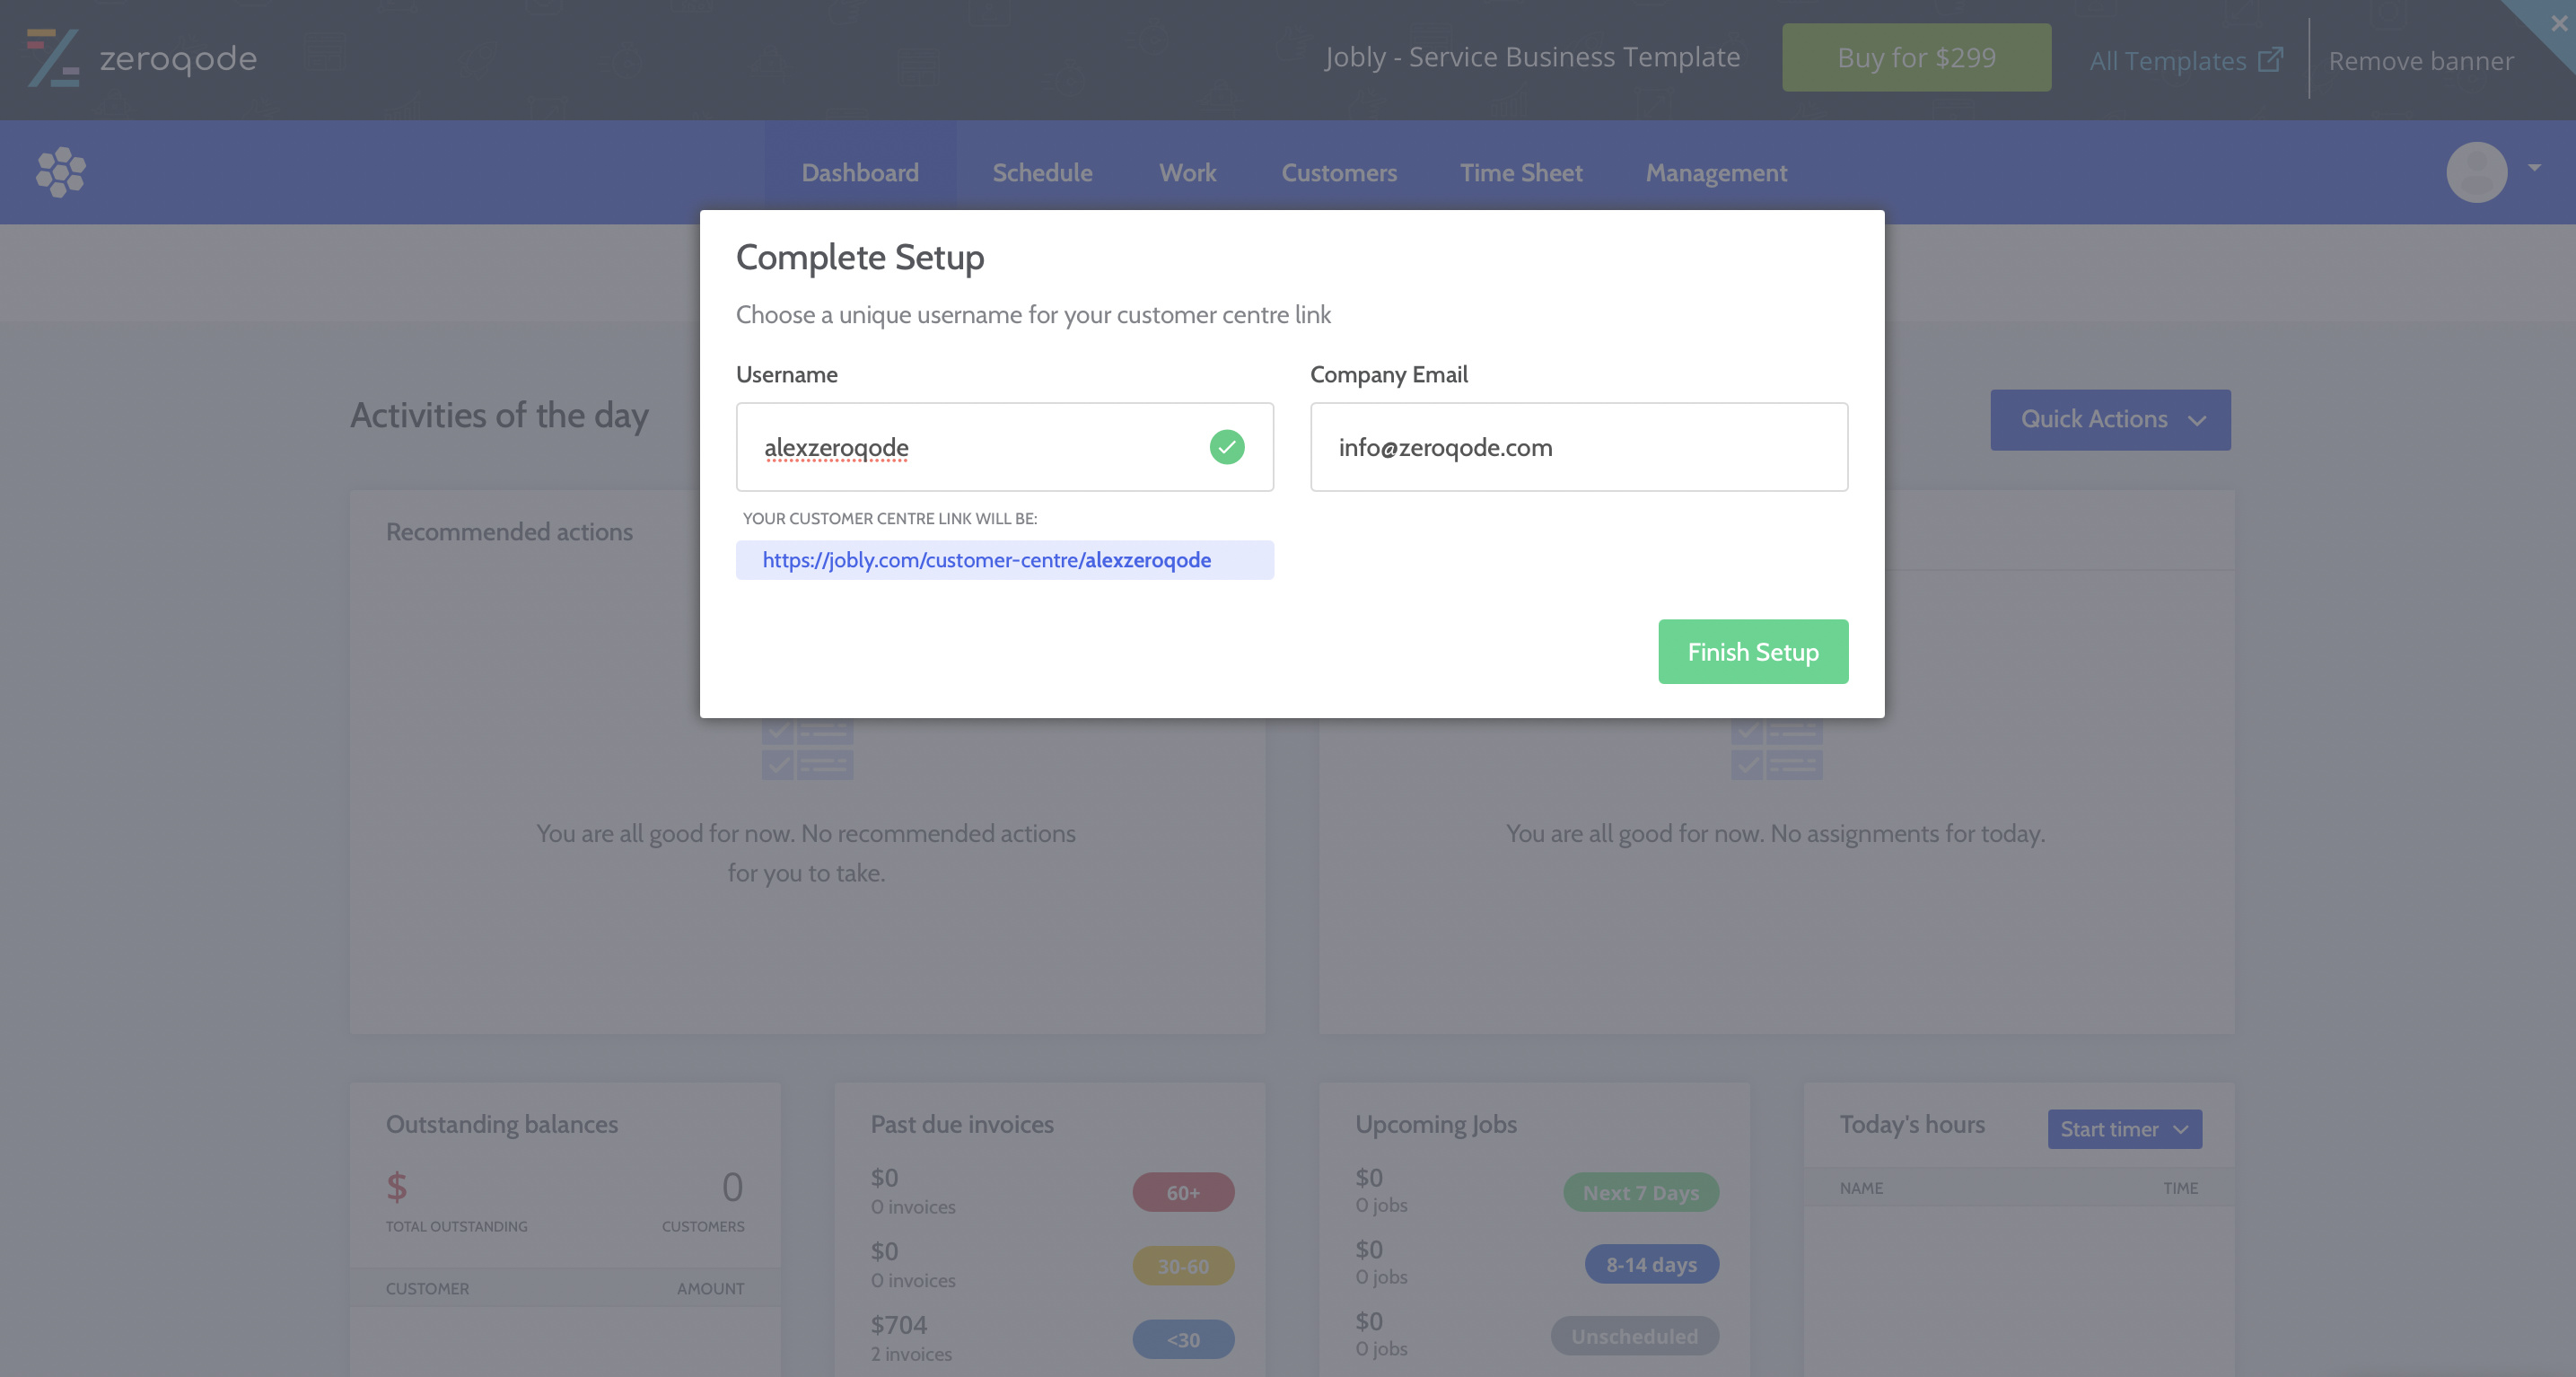
As well as a username and company email:

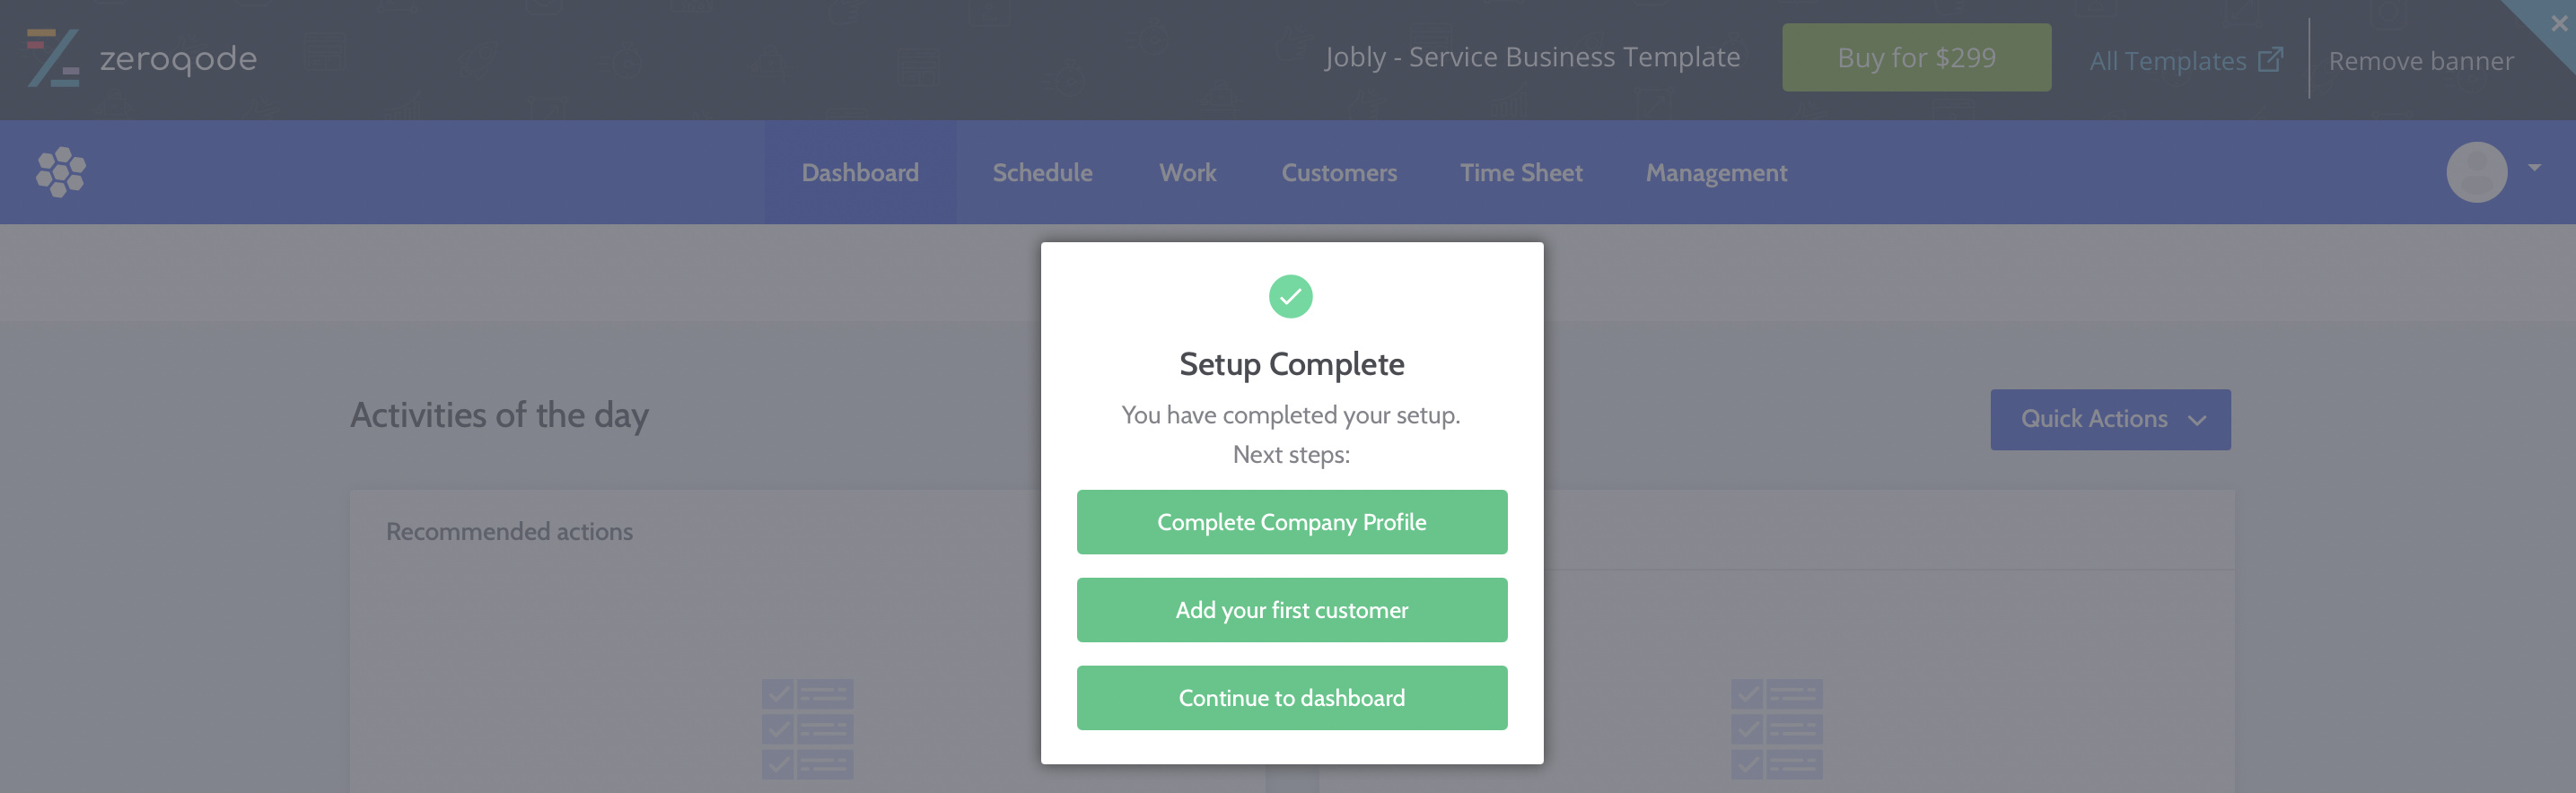
After which you are given 3 options to whether complete the company profile, add your first customer or go to dashboard directly:

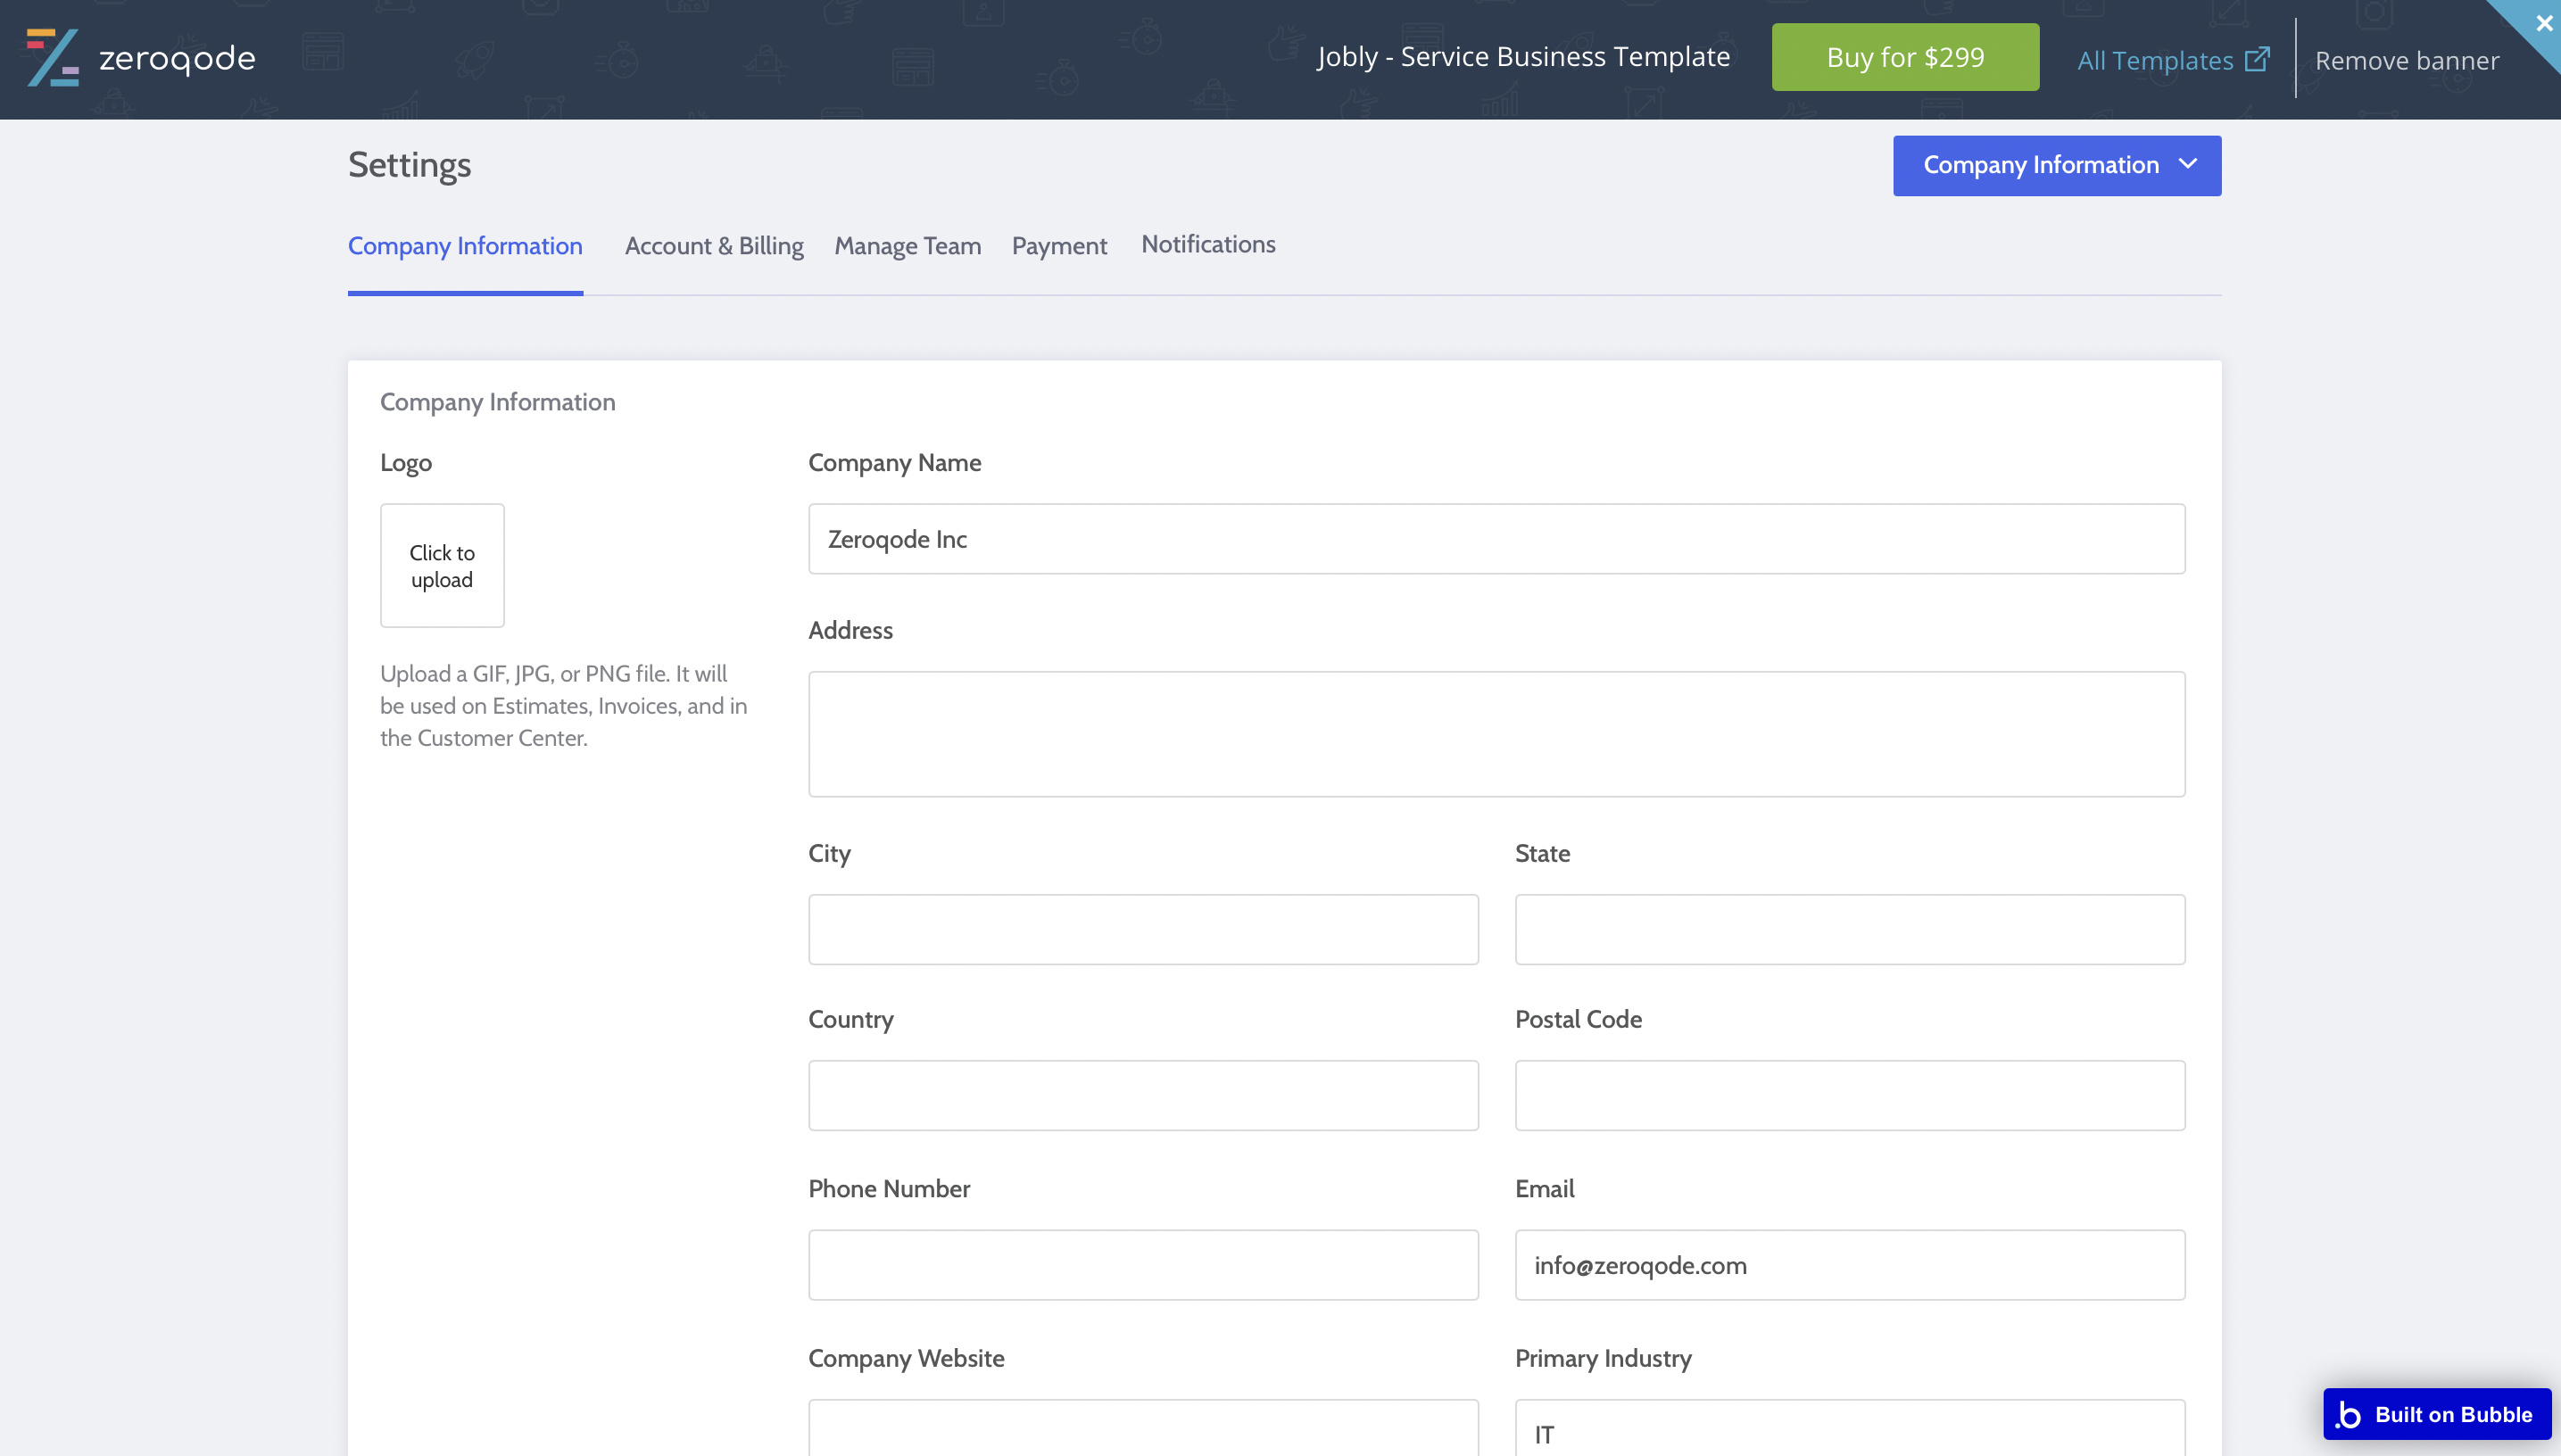
If you go to complete the company profile, you’ll be able to set up more information about your business, here:

As well as other tabs like Account & Billing (here you manage the platform subscription and credit cards), Manage Team (here you are the only user present - the company owner, and you can add your employees), Payment (here you connect the Stripe to be able to receive payments) and Notifications (here you manage your platform notifications).

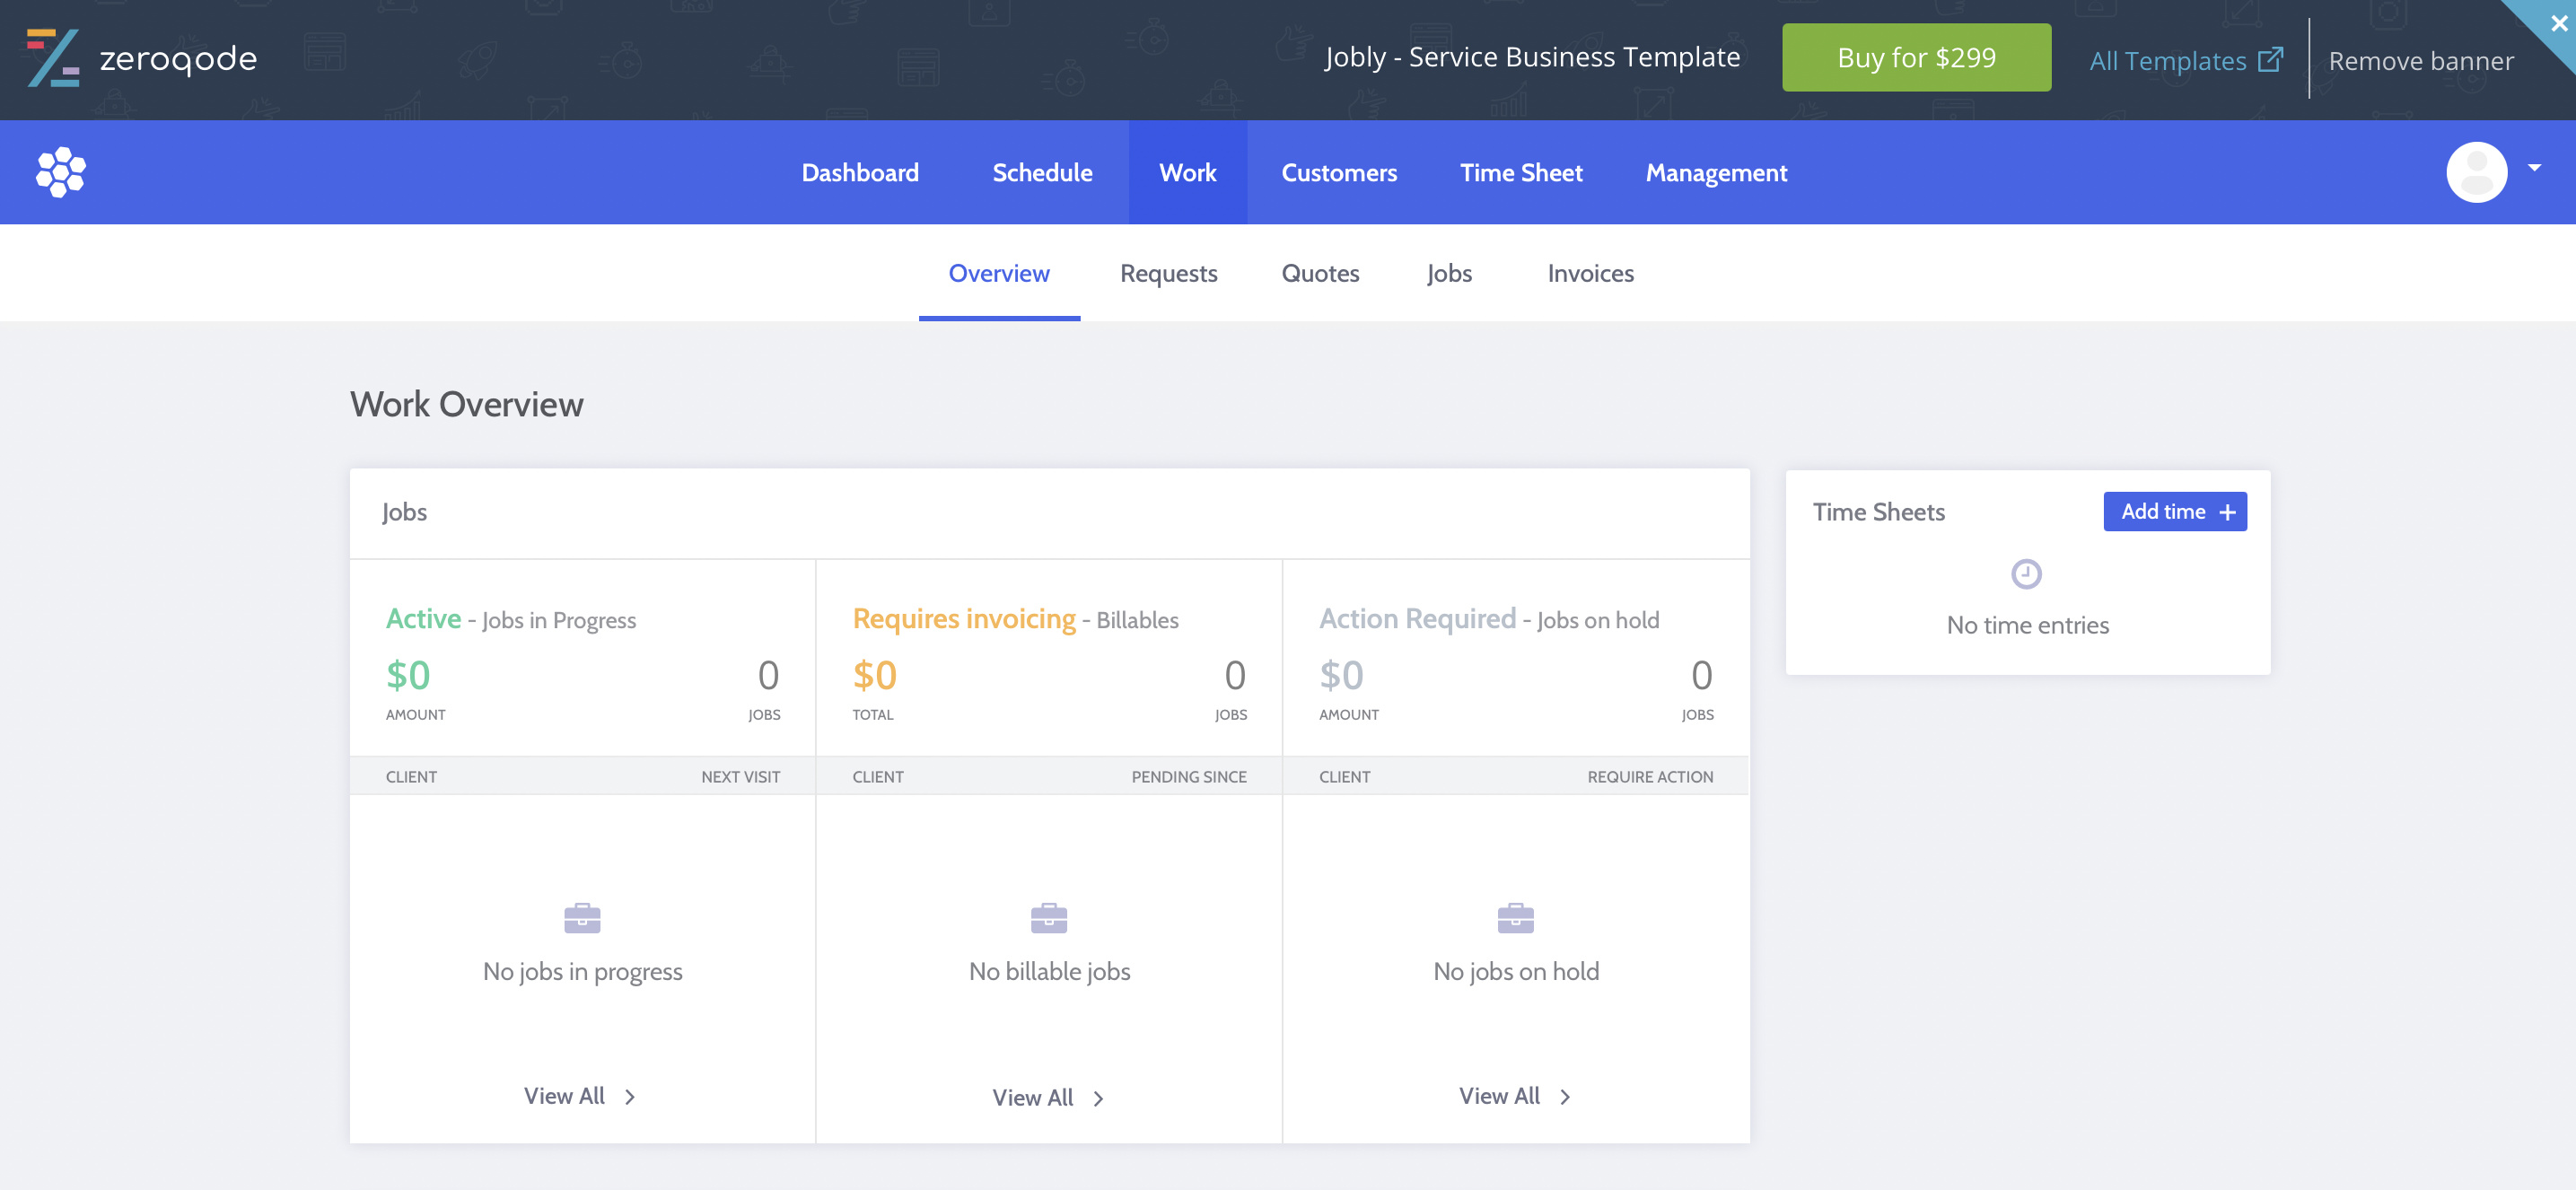
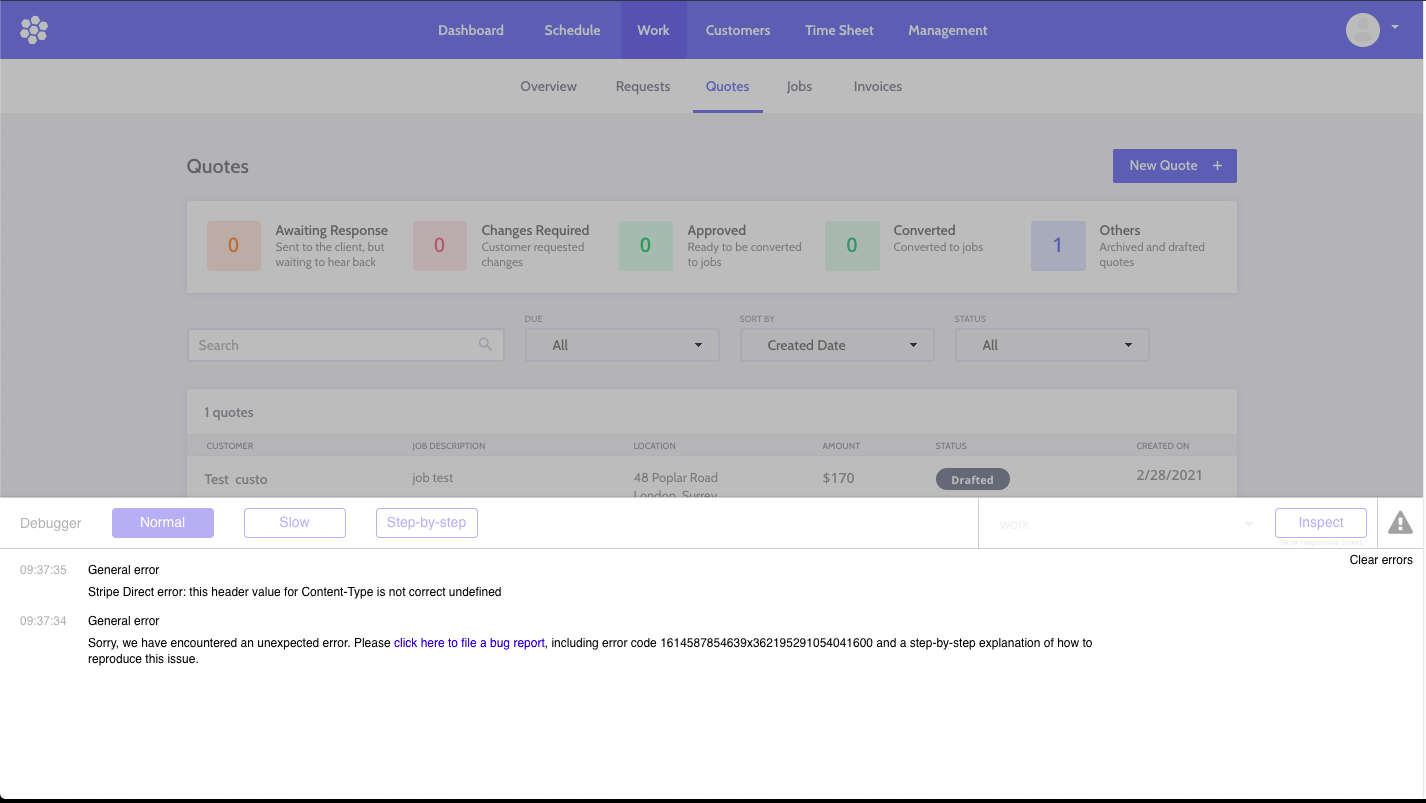
Then to go straight to the work creation stage of this app, you just navigate to the Work tab:

Here you can create Requests. Requests can be converted into Quotes. Quotes can be converted into Jobs. And Jobs can be converted into Invoices. Or you can separately create each of these types in their respective tabs.

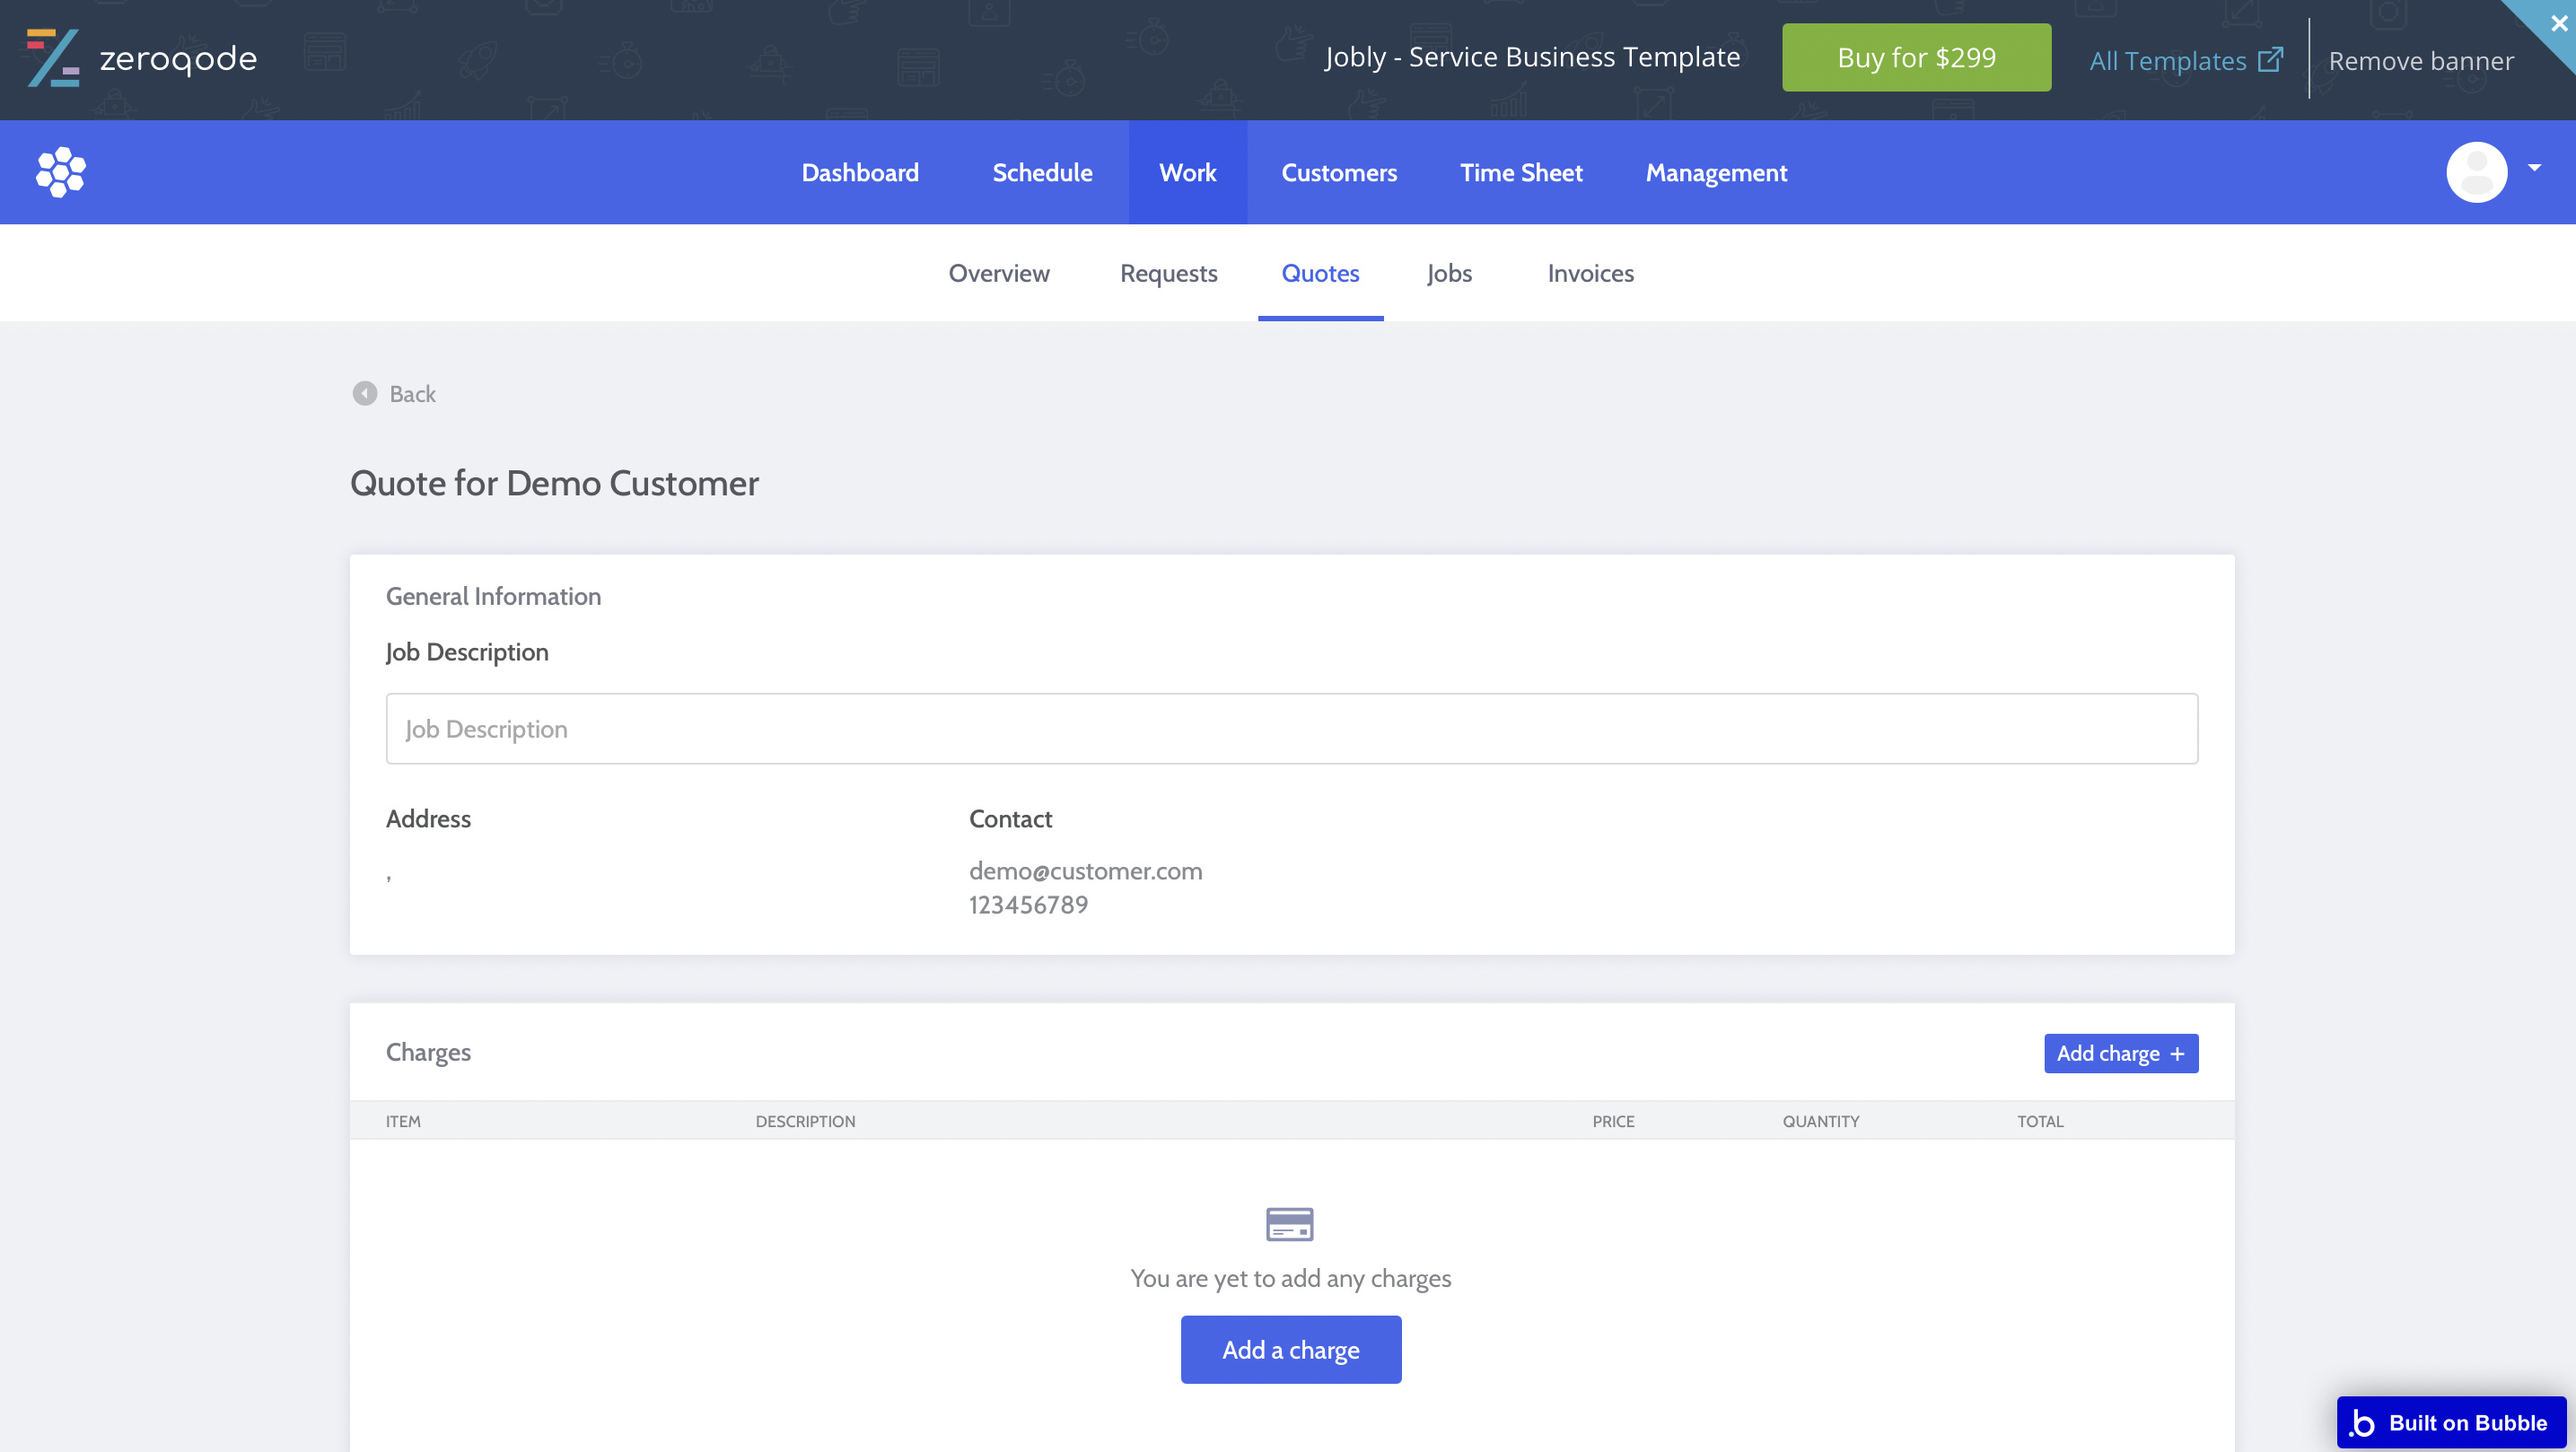
Then, let’s say you created a Quote for one of your customers:

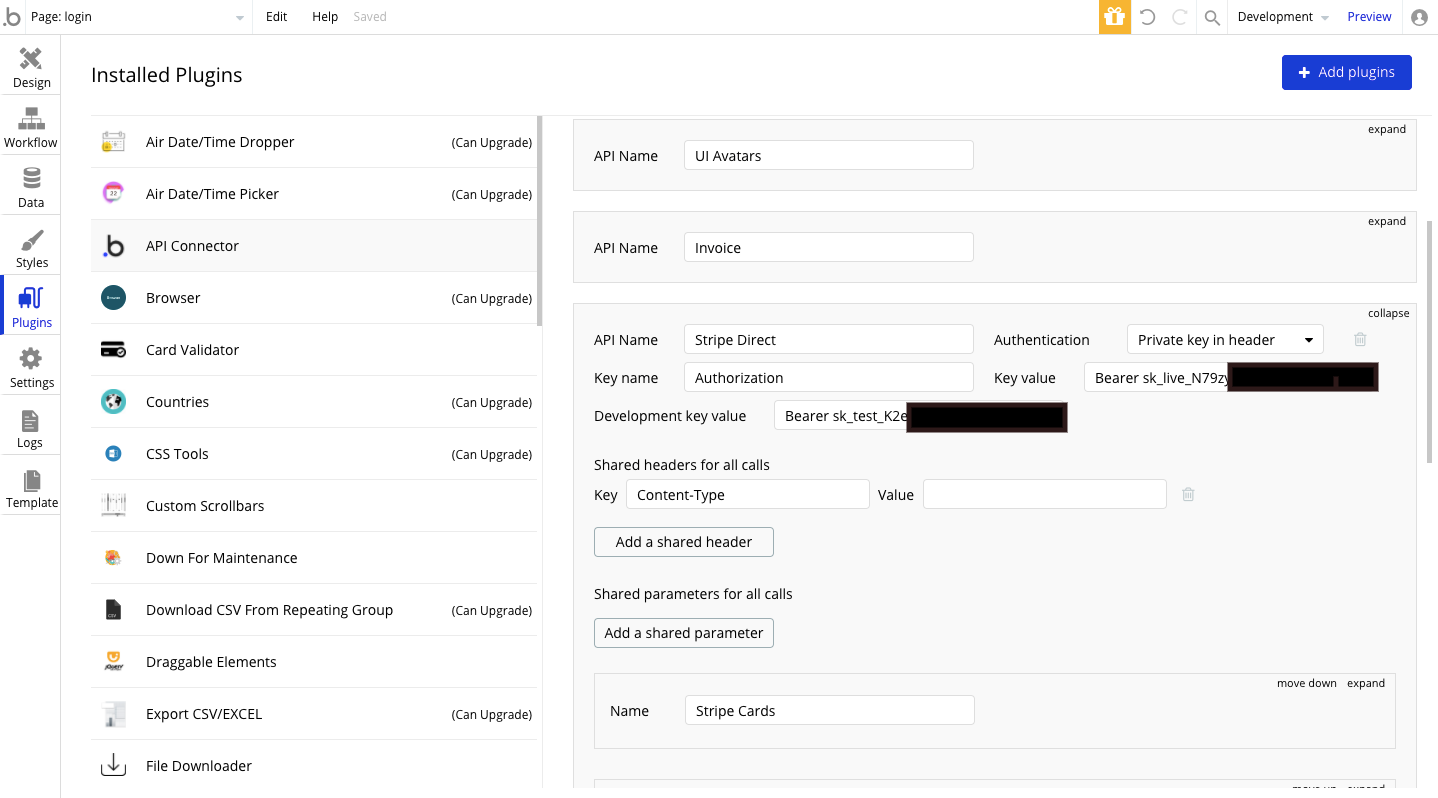
At this point you need to add a charge:

Now, this is what can be created (Item) and used the next time with the same settings being saved (Item name, Description, Price, Quantity and Total).

So when you, as an organisation, set up your company as a cleaning company or any other business category, you create your own Items that you can later on send to your customers that require a job from you, and assign this task to one of your company employees to perform it.

Now you can modify the template as you like, in order to meet your own project preferences. In case you need more clarity on how the template functions you can check our promo video here.

Hope it helps.

Best,
Alex

1 Like

Nice one Alex, that’s helpfull and I’m sure it will help others get up and running quicker.
I was getting stuck before on the same path because I haven’t set up Stripe yet thinking that it can be skipped. Now I tried again as a visitor from the index page and I get an error about Stripe. So I will first set up that and try again later.

This is very helpful, now I understand what an item is (an actual piece of work or service carried out. In Stripe that would be Product, if familiar with that):

1 Like

Thanks @myhomelovelyuk!

Yes, please make sure to configure the template as per our docs here.

And give it a try again.

In case you like our template so far, could you please rate it by going to Templates tab within your Bubble editor? You can give it as many stars as it deserves. The more feedback we get, the more motivated we are to build great templates!

Best,
Alex

Sure, I’ll give it some time to actually get set up. I’m feeling positive!

Thanks,

2 Likes

Hi Alex,
I’m preparing to push the app to live.

Could you please shed some light on the Google Authentication process. The paragraph in the docs (under “Things to note”) is not very explanatory.

" You would need to create an app/project in the developer console:

Google: https://console.developers.google.com

Ensure that you add all live & test URLs for these pages: /signup, /signin & /dashboard as authorized redirect URLs."

I was reading up on that on link. Do I need to complete the OAuth consent screen, and also verify my app once ready for production. And when I verify the app, what level of verification I need (as it means different verification duration periods and a lot of work.). And is there something else I’m missing that I will need to do?

Thanks a mile!

Hi @myhomelovelyuk,

Thanks for feedback. You are on the right way actually.

This is the right place to create a project and yes - you need to complete the OAuth consent screen, just like Google is asking you to do. Later on you’ll also have to verify your app, so Google makes sure everything is done properly in order to use their services.

Yes, when you create the console project, this is an important step for your authorized redirects. You just need to add the URLs for all of the above mentioned pages in this way:

  • yourwebapp.com/signup - live URL
  • yourwebapp.com/version-test/signup - test URL

You can also include the whole URLs with ?debug_mode=true to your list.

Best,
Alex

Hi Alex,

I got that bit sorted for now. I didn’t go through with full verification with Google yet though.

Need some further help on setting up the template, more specifically stripe. I added all correct keys (hopefully) in Stripe and Stripe.js 2 plugins. Now I was having some errors in the Dashboard_lite page when I navigate into Work/Quotes I get these 2 errors:

"Stripe Direct error: this header value for Content-Type is not correct undefined.
Sorry, we have encountered an unexpected error.

Please click here to file a bug report, including error code 1614530195102x633532444387935500 and a step-by-step explanation of how to reproduce this issue."

In Api Connector >Stripe this field is empty indeed. Am I supposed to fill it in with something?

Thanks,

I found someone in bubble forum having similar issue and added : application/x-www-form-urlencoded to value. It removed the error. :grinning:

2 Likes

Thanks @myhomelovelyuk!

Good to know. Thanks for sharing the solution here. :pray:

Best,
Alex

1 Like