
In regards to the Mouse & Element Position plugin, https://zeroqode.com/plugin/mouse---element-positions-+-move--draggable-elements-1533644100426x240552102856491000, is there a way to query an elements position on page load? I seem to only be able to get the element’s position after its been dragged. I’m still trying to get a report for my variable height Repeating Group that has a text field that says “page X of Y” When I read the description of this plugin that said I could get “the X, Y position of elements Live” I thought that I would put an element below my RG so its position changes depending on what is displayed in my RG and then I would take the resulting X position and divide it by the number of pixels on a standard 8.5x11 piece of paper and therefore I could determine how many pages my report is. However, like I said, this plugin only queries the XY position after its been dragged and only relative to its original post-load position. Do you have a way to get the position relative to the page without moving the element?
@accounting Hello.
we’ll check this out if possible and be back to you asap.
thanks for understanding.
I appreciate you acknowledging my question and look forward to receiving an answer. Thank you.
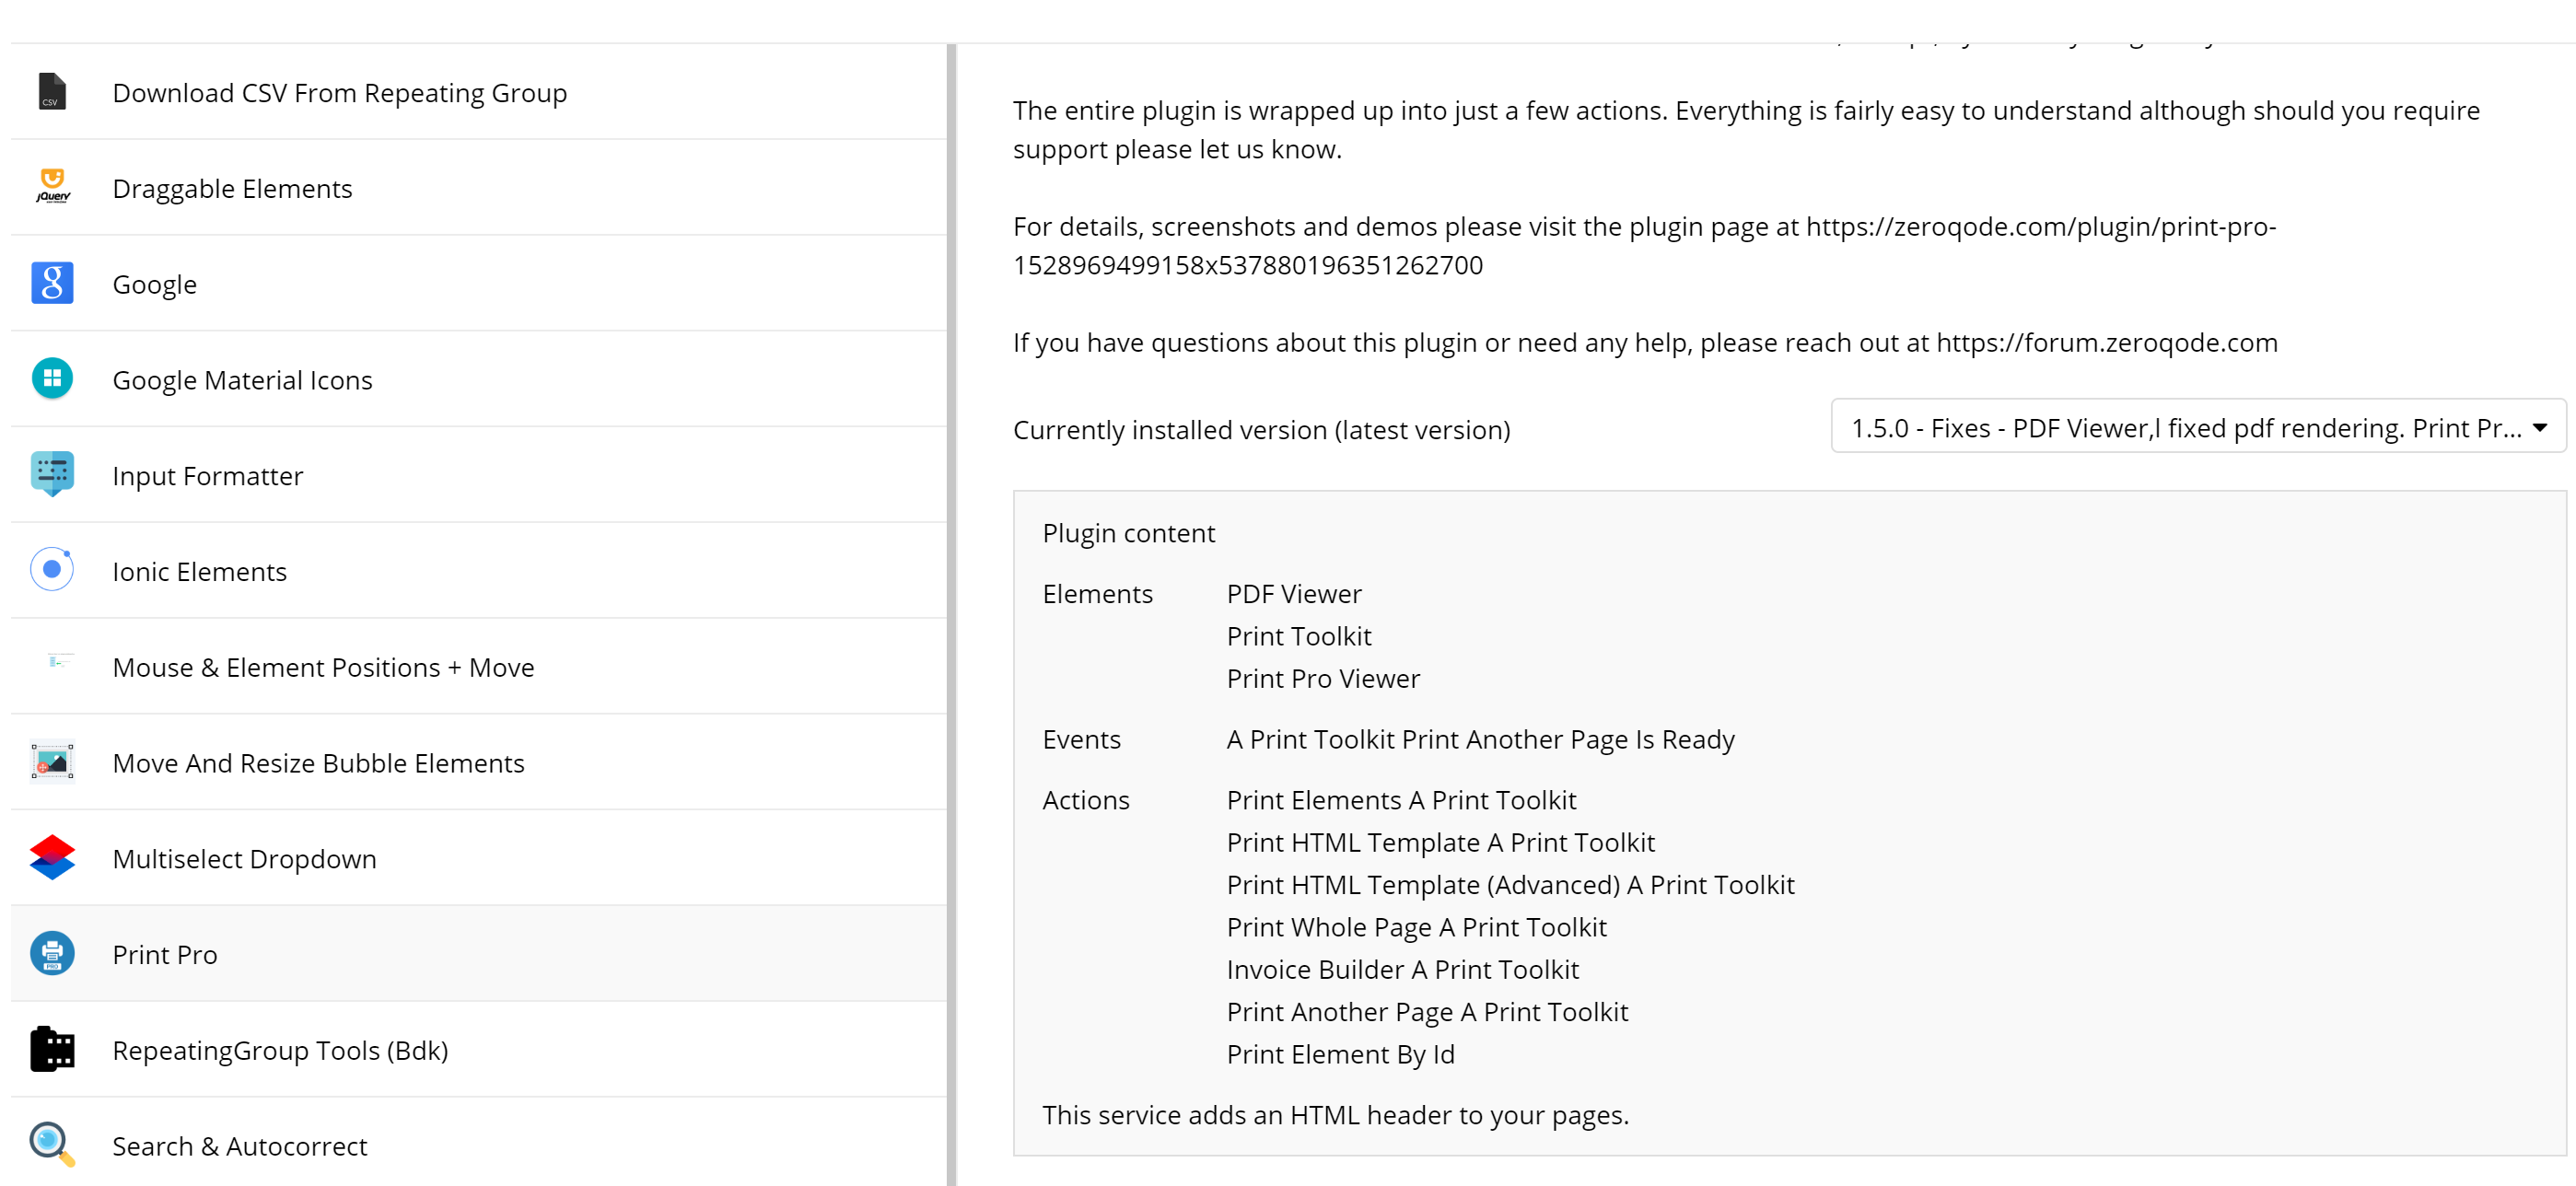
Hi there, we have updated the plugin and
Added 2 new states:
Queried X Page Position
Queried Y Page Position
please upgrade, refresh the page and give it a try
thanks!
I’ve only had a few minutes since you pushed your update to look at this, but it seems to be doing the Query X/Y position as requested. Thank you! I hope to have some more time for my app at the end of the week and I’ll let you know if I’m able to parlay this into responsive page numbers.
I wanted to let you know that I was able to use this Query X/Y position to create page numbers for my variable-height repeating groups. I’m doing two things with this:
-
Text on the first page to the effect of “this contract is Y pages long.” -
This was fairly easy to achieve with your workflow to Query X/Y position. I put an invisible shape with a height of 1 immediately below my repeating group and used that to effectively query the rendered page height. I divided the result by the height of a standard page (1280 with my page margins at least) to get the total number of pages. -
Text on each individual page that says “page X of Y.”
This was more complicated. A little background on my data. It is organized like this: A single Project has one or many Options and each of those Options have one or many Details (RTE/Multiline Input box that is specifically tailored to each Project depending on the scope of services we are providing).
To get make the report print page numbers on each page, I made a repeating group of my Current Page Project:converted to list and within that I placed two additional Repeating Groups. The first one is RG-Option and fills most of the page in width. The second one is narrow repeating group on the right side of my page that contains my Page X of Y textbox.
Some background on the data source of the second RG. I made a workflow that sets a custom state (Page Count) to the main RG-Project to a number equal to the total number of pages on the report as described in my first bullet point. Then I also created a new Data Type called Page Numbers that only has one field, a number field called Page Numbers. I filled that data table with manual New Entries of Page Number things 1, 2, 3, etc. So the data source for this RG-Page Number is Search for Page Numbers items until RG Project’s Page Count. And the data for the textbox within the RG-Page Number is Current Cell’s Index + 1 of RG-Project’s Page Count. I used the +1 because the first page is actually filled with boiler plate contract text (plus the text from the first bullet point, the total contract price, etc.).
A couple of more things about the the formatting of this: 1. The height of RG-Page Number is 1280, so that each successive Current Cell’s text box falls on the next page, but the height of its companion RG-Option and its parent RG-Project is only 120. This is because, again, my Details in the RTE could be one sentence (we’ll perform some work) or many sentences (we’ll perform A, B, and C detailed and itemized work) so I need to set the height to accommodate the least amount of data possible and have it auto-expand as necessary. The Parent RG-Project also has to match that height of RG-Option to avoid having unnecessary blank space on the last page. 2. And currently have the text Page X of Y showing at the top of each page, it didn’t seem to want to work as well at the bottom, but I may just need to play with it a little more.
Also, I wrapped RG-Option and RG-Page Number into the Parent RG-Project:converted to list even though there is always only one project per report because without that step it seemed RG-Option was always pushing RG-Page Number below itself and grouping them together helped them maintain their alignment. Perhaps I could have used a regular group? I don’t know, but it worked for me.
So anyhow, I hope all this detail helps someone else. And, again, thank you for pushing the update to the Plugin that allowed me to do this.
I’m working on a new thing in my app utilizing both the Print Pro and Mouse & Element Positions + Move plugins. I’m using the Mouse & Element Positions to move an element and after the element is moved, I want to print the page. My problem is that even after the element is moved, the printed results show the element in its original position, not its new position. Is this the expected behavior? I want to print the moved position, not the original position. I have also tried using your Move and Resize Bubble Elements Plugin, with the same results. Element moves on screen, but doesn’t print correctly. Is there a way to print the element in its new position?
Hello there @accounting, our team is analysing now your issue, I will update you of a matter ASAP.
Thank you,
BR,
Nik.
Hello there @accounting, we have updated Print Pro plugin and added action for your case,
So on you have to update the plugin, and change the action in your WF on Print Element Inline styles a Print Toolkit, and enjoy it.
If you like our plugins you can rate them by going to Plugins tab in Bubble editor. Find the plugin by name and it give it as many stars as it deserves  The more feedback we get, the more motivated we are to make things better in Bubble.
Thank you,
BR,
Nik.
The Print Pro plugin doesn’t seem to have an upgrade available. The latest version is 1.5.0. The Mouse & Element Positions plugin has an upgrade available to version 2.2.0 (which says New Action - Print Element Inline Styles). I have installed that update, but I don’t see a new WF action available. Am I missing something?
Assuming that the print update works as expected, I am going to have another question about the Mouse & Element Positions plugin:
Can the Workflow “Elements to X,Y End User Controls” be updated to accept a dynamic ID value? I see that Workflow “Element Move” in the Move and Resize Bubble Elements accepts dynamic values. I’m not sure why these two plugins perform such similiar actions, but I need to move elements with dynamic id’s and I’ve already purchased the Mouse & Element Positions plugin.
Thank you
@accounting, you can check it on our demo-page, also in the plugins tab, you can see this one action.
Regarding your second request, our team will analyze it, and I will update you of a matter ASAP.
Thank you,
BR,
Nik.
I see the option available on your demo-page links, but if you look at my attached screen shot, the option is not available in my app.
Sorry @accounting, something was crashed at deploy of new version of Print Pro plugin, and the deploy was done partialy, we will fix it right now, and I will update you of a matter ASAP.
Thank you,
BR,
Nik.
Hey @accounting, it’s already fixed, please update Print Pro and enjoy this plugin.
Thank you for your patience.
BR,
Nik.
Also @accounting, about the Dynamic ID it’s impossible to Implement this cause this feature will disable possibility to move more than one element to the X,Y position.
Thank you for understanding,
BR,
Nik.