Hello, @9dj
Thanks for the details and for the additional email.
Please note that the Stripe Plugin is created by the Bubble Team, so the documentation was created accordingly to the plugin specification 
- Create a stripe account and submit all the necessary information to make it “complete”.
- Follow our Zeroqode documentation regarding stripe to fully set up the Stripe plugin inside the template.
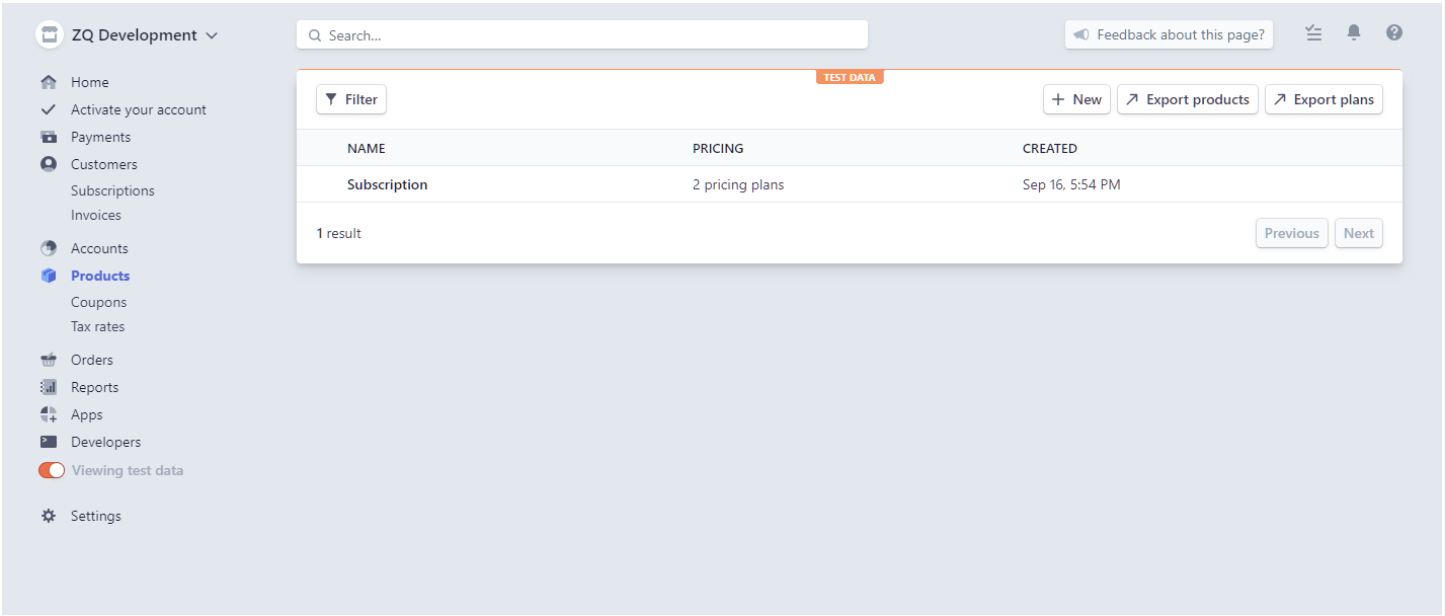
- Go to the Products tab (if you can’t see it open the Billing tab). There click on “New” to create a new product (check the image Products tab).
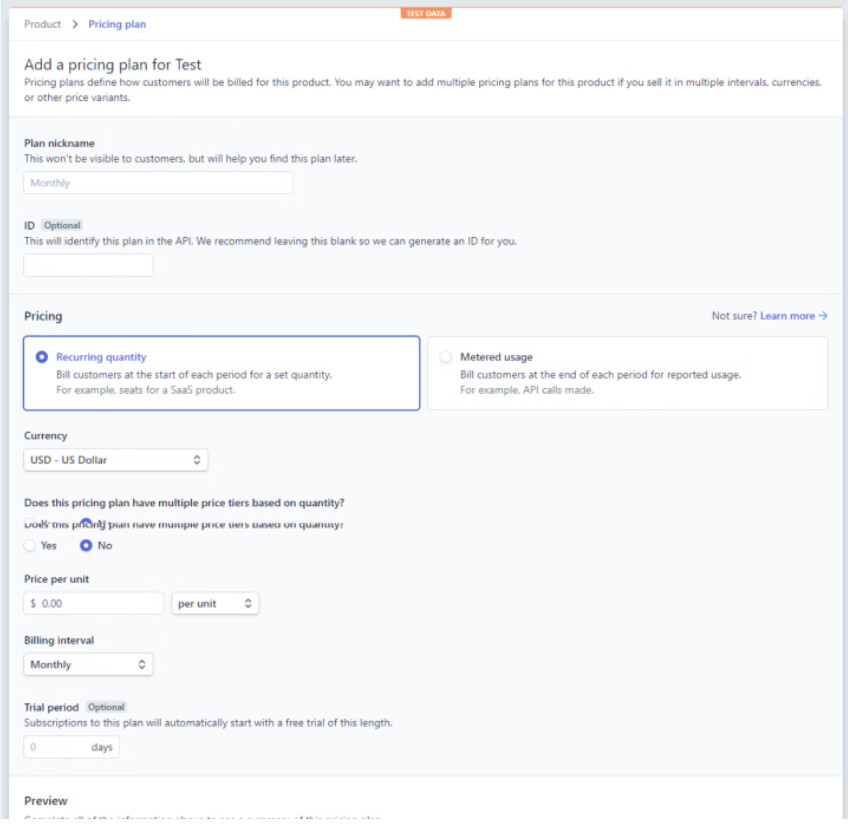
- In the product creation window you just have to pick a name for your product. Then you will have to set a plan for your newly created product. You can later add additional plans for the same product (e.g. monthly and yearly plans for VIP subscription).
Also, please find the screenshots of the Demo Stripe settings, which will be helpful for you:
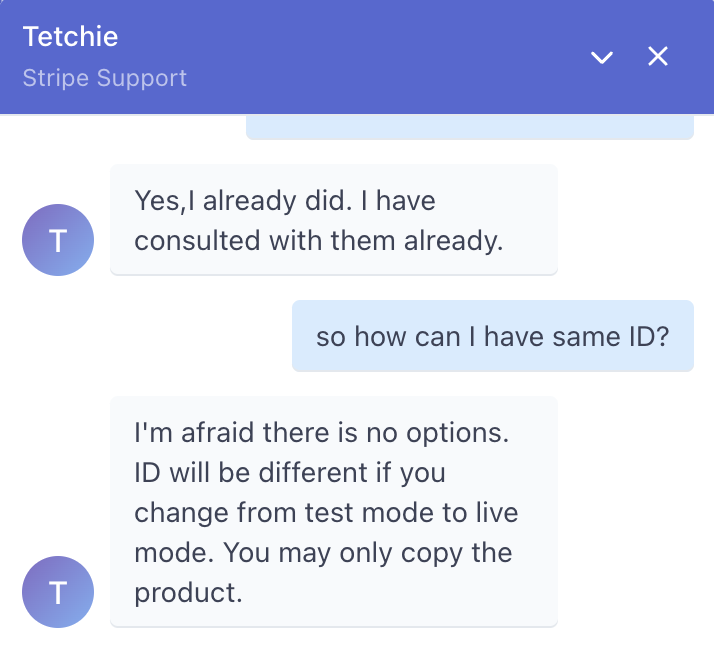
In order to configure the subscriptions properly, please allow me to recommend you remove the created product from the Stripe dashboard and create a product once again.
Unlike most Stripe resources, you can choose the ID of the product yourself. We recommend choosing an ID that makes it easy to integrate Stripe with other systems you use. For example, if you’re selling physical goods, you can use the internal ID from your own systems.
So, you need to have both versions of the app and product on your dashboard. So, when you create a product, just make sure you set the same unique identifier.
In case you have both versions of your application in your Stripe Account, you will have the same plans and IDs for them.
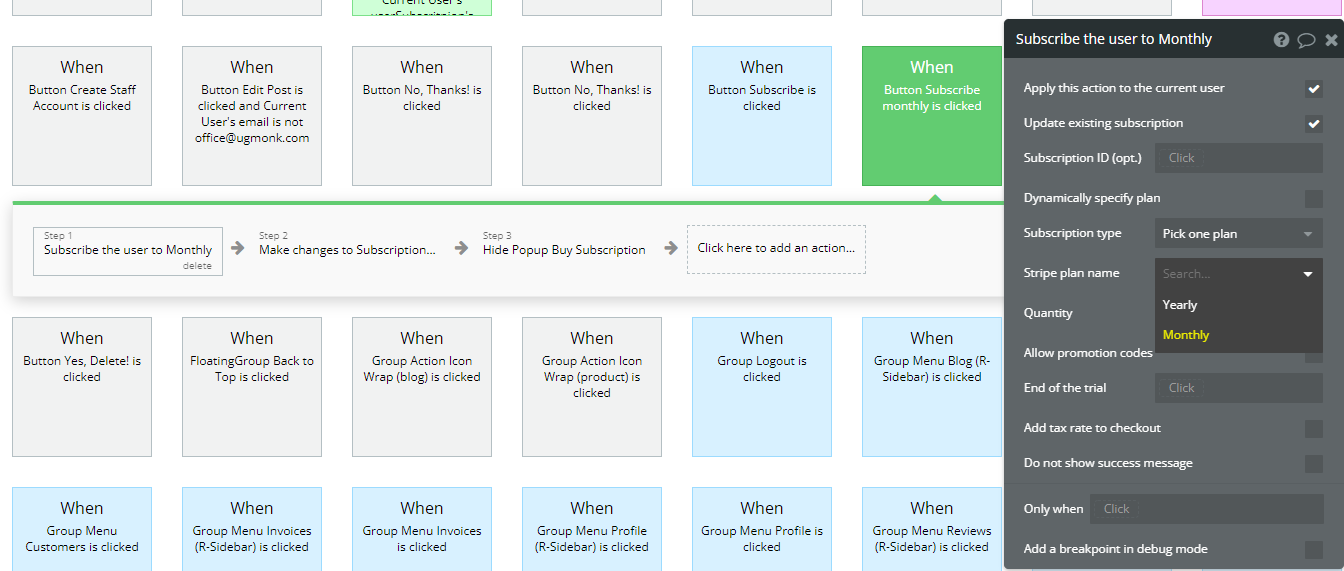
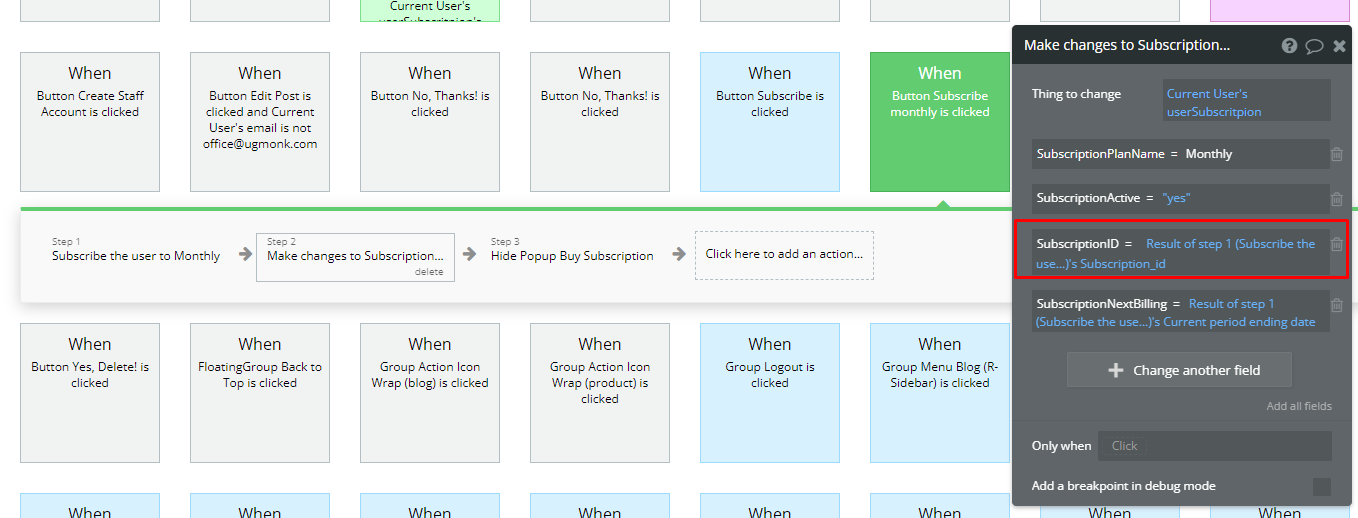
Please try to follow the instruction once again, check the Demo Editor for the template and configure the required action:
Best regards,